
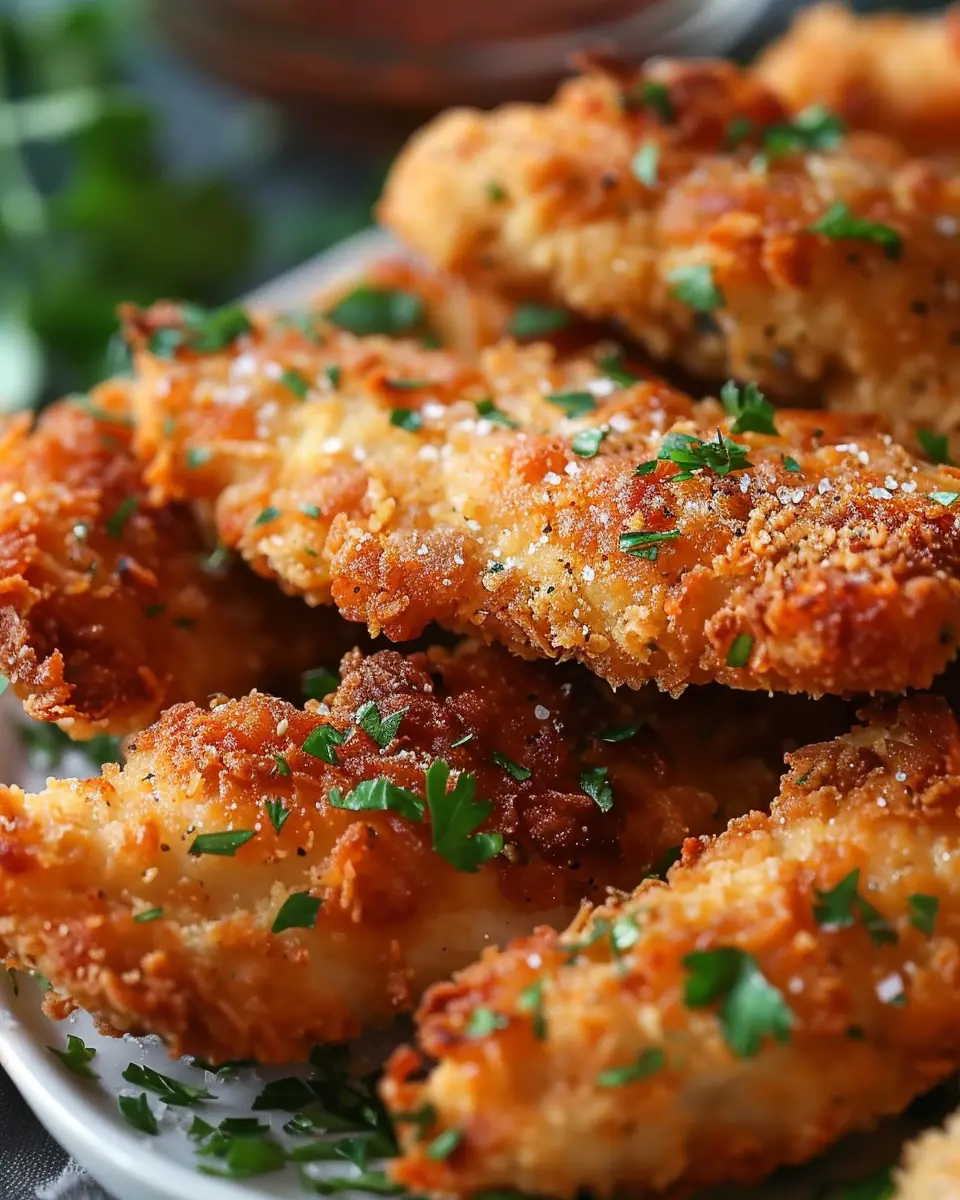
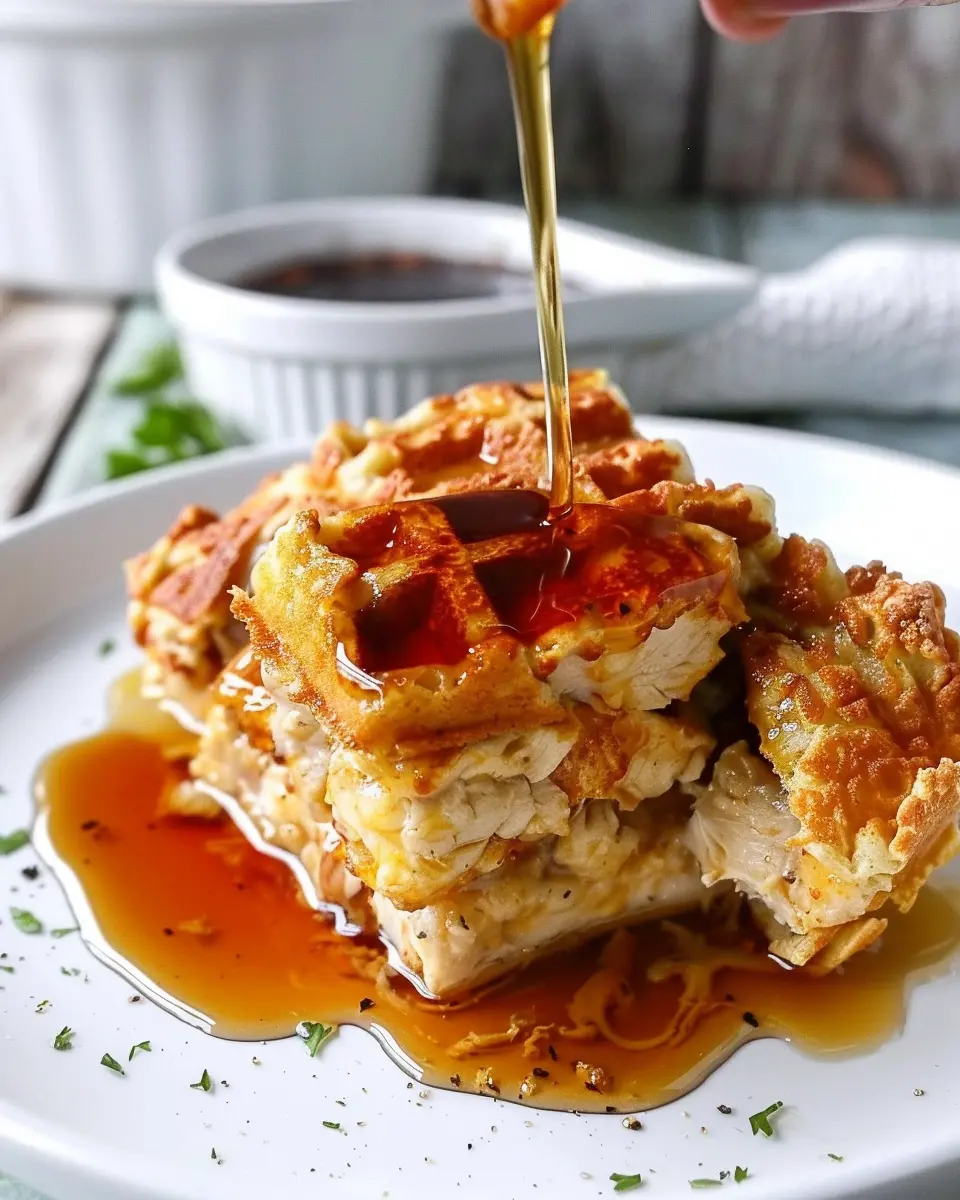
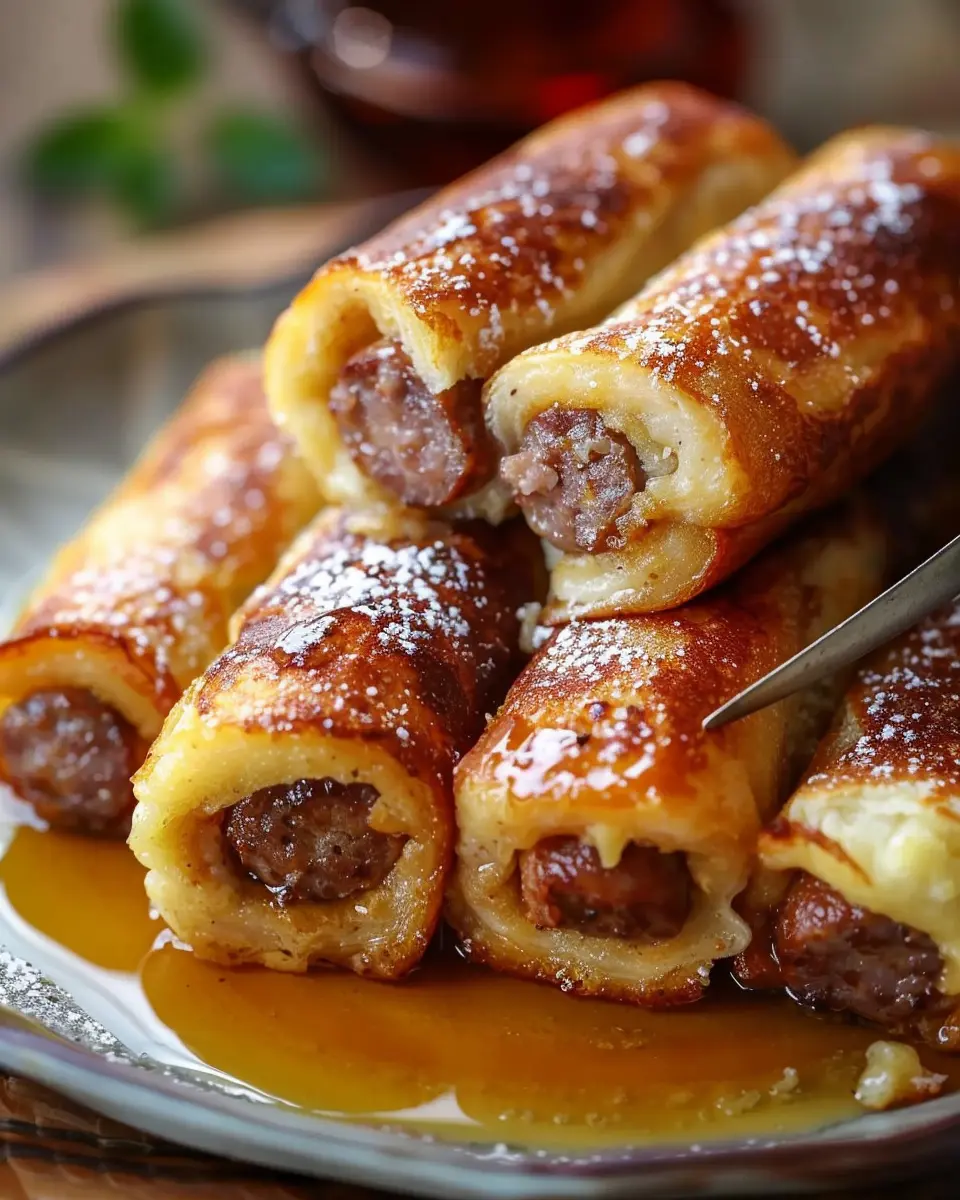
Introduction to Crispy Baked Chicken Tenders
When it comes to comfort food, there’s nothing quite like homemade chicken tenders. Crispy baked chicken tenders not only hit the spot but also allow you to get creative in the kitchen. Picture this: perfectly seasoned, golden-brown chicken coated in a crunchy breadcrumb layer. It’s the kind of dish that brings together family and friends and makes weeknight dinners feel special.
Why are homemade chicken tenders the ultimate choice? For one, you control the ingredients—no hidden additives or preservatives, just quality chicken and your favorite spices. According to a study published by the USDA, cooking at home can lead to healthier eating habits. Whether it’s a family gathering or a quick lunch, these tenders provide a satisfying and nutritious option.
There’s also a certain nostalgia associated with chicken tenders. Remember those carefree days as a kid when they were your go-to meal? Bringing them back as an adult can evoke fond memories while giving you a taste of the familiar comfort. Plus, they’re super versatile. Pair them with a zesty homemade dipping sauce or serve them on a bed of greens—the possibilities are endless!
One major perk of making crispy baked chicken tenders at home is the convenience. You’re not confined to restaurant hours or waiting for delivery. With just a few ingredients and a little prep time, you can whip up a batch that rivals your favorite food joint, all while enjoying the smell of that savory goodness wafting through your home.
And let’s talk about health—we’re opting for baked instead of fried, which cuts back on unnecessary oils without sacrificing flavor. In fact, Baked chicken tenders provide about 20% fewer calories compared to their fried counterparts.
Before diving into the recipe, consider exploring some recommended side dishes to pair with your tenders. If you want more inspiration on making the most out of your chicken cuts, check out the USDA’s guidelines on safe meat handling and cooking.
So, are you ready to treat yourself to some delicious homemade tenders? It’s a culinary adventure waiting to unfold!
Ingredients for Crispy Baked Chicken Tenders
When it comes to creating crispy baked chicken tenders, the secret lies in selecting high-quality ingredients. Here’s a breakdown of what you’ll need to whip up a batch that will leave everyone asking for seconds.
Essential ingredients for the perfect crunch
-
Chicken Breast: Choose fresh, boneless, skinless chicken breasts for the best flavor and tenderness. Slice them into even strips to ensure they cook uniformly.
-
Breadcrumbs: For that incredible crunch, opt for panko breadcrumbs. They give your tenders a light and airy texture that regular breadcrumbs can’t quite replicate. You can also consider making your own for an added touch!
-
Seasoning: Don’t skimp on flavor! A mix of salt, pepper, garlic powder, and paprika can make all the difference. Feel free to experiment with other spices like onion powder or cayenne for a little kick.
-
Eggs and Flour: You’ll need flour for dredging and eggs for coating the chicken, helping the breadcrumbs stick beautifully to the chicken strips.
-
Olive Oil: Just a drizzle of olive oil before baking not only enhances flavor but also aids in achieving that golden-brown color.
For a delightful dip, you can check out this homemade honey mustard recipe that pairs perfectly with your crispy tenders!
By gathering these ingredients, you’re on the right path to creating crispy baked chicken tenders that are sure to impress your friends and family!
Preparing Crispy Baked Chicken Tenders
If you’re looking to impress your friends or family with flavorful, crispy baked chicken tenders, you’ve landed in the right spot! This dish is a staple but often gets a bad rap as just another boring meal. Let’s break down the steps to make tender chicken tenders that will wow even the most discerning palate. Ready to dive in?
Preheat the oven and prepare your station
Before we kick things off, it’s crucial to set the stage for your cooking adventure. Preheat your oven to 425°F (220°C). This high temperature is key to achieving that beautiful golden crisp on your tenders. While the oven warms up, take a moment to gather your ingredients and equipment. You’ll need:
- Chicken breast fillets, cut into strips
- Eggs
- Breadcrumbs (preferably panko for that extra crunch)
- Flour
- Your favorite seasonings (think garlic powder, paprika, salt, and pepper)
Having everything at your fingertips means fewer distractions and a more enjoyable cooking experience.
Seasoning the chicken for flavor
Next up is the star of the show: the chicken! Don’t skip this vital step. Seasoning your chicken well ensures that every bite is packed with flavor. Here’s a simple guide:
- In a bowl, mix together your favorite spices such as garlic powder, onion powder, paprika, salt, and pepper.
- Sprinkle this seasoning mixture liberally over the chicken strips, ensuring that every piece is well-coated. Let it marinate for about 15 minutes if you have the time; this helps the flavors penetrate the meat.
Did you know that marinating proteins can help tenderize the meat? According to culinary experts, allowing chicken to sit with spices can enhance the overall mouthfeel and taste. For more tips on seasoning chicken, check out this insightful cooking guide.
The breading process explained
Now comes the fun (and crunchy) part: the breading! The secret to crispy baked chicken tenders lies in using a three-step breading process.
- Flour Dip: Start by coating each chicken strip lightly in flour. This helps the egg stick better.
- Egg Wash: Next, dip the floured strips into a bowl of beaten eggs. This will create a sticky surface for the breadcrumbs to adhere to.
- Breadcrumb Coating: Finally, roll the chicken in panko breadcrumbs. This will give you that delightful crunch we’re all after. Feel free to add some grated Parmesan cheese or spices to the breadcrumb mix for extra flavor!
Arranging on the baking sheet
Now that your chicken tenders are all breaded up, it’s time to arrange them on your baking sheet. Line a baking tray with parchment paper (this helps with cleanup later) and space the tenders apart so they aren’t crowded. This is crucial, as proper airflow around the chicken helps achieve crispiness. You can also spritz them lightly with cooking spray or drizzle a little olive oil on top to enhance browning.
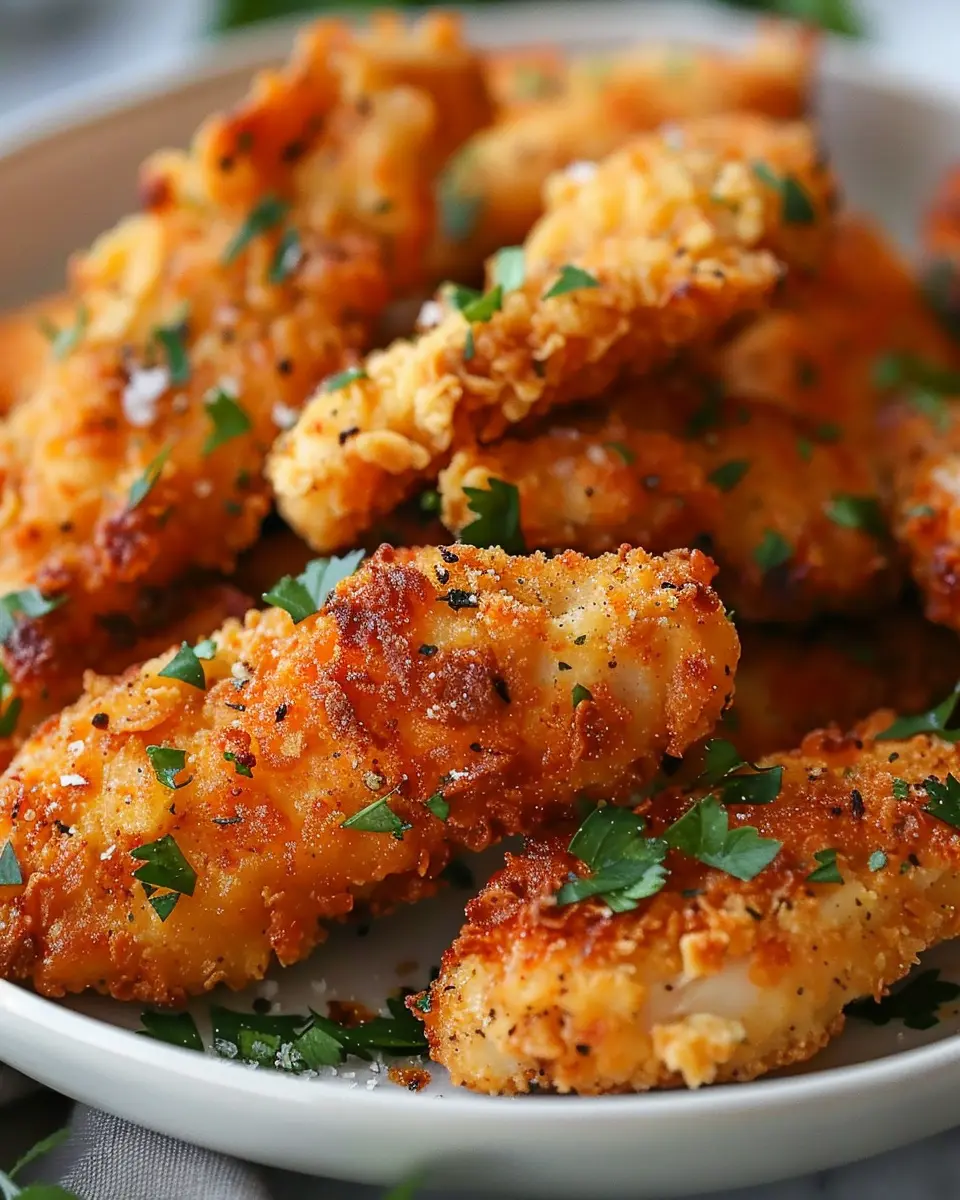
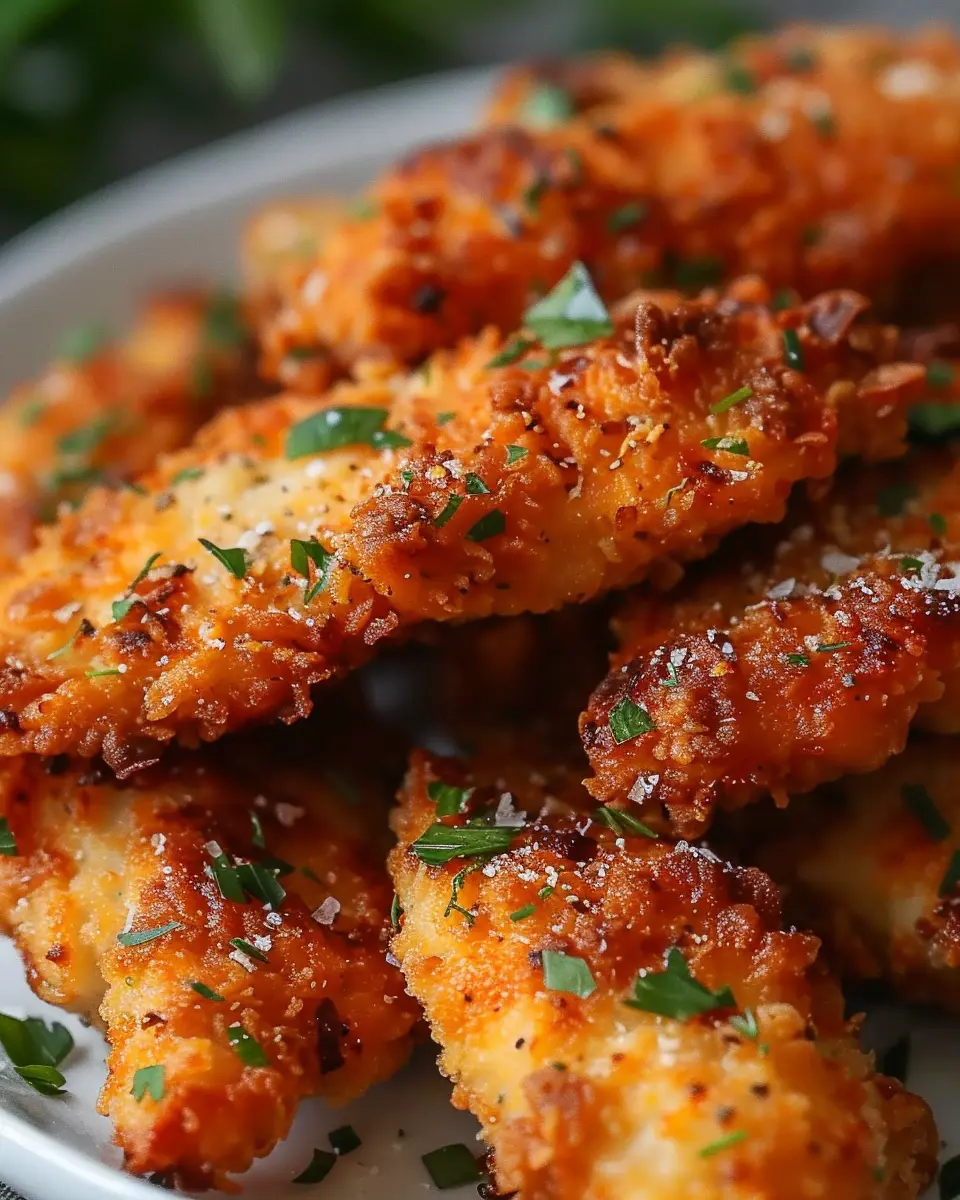
Baking to crispy perfection
Slide your baking sheet into the preheated oven and bake for 15-20 minutes, depending on the thickness of your chicken strips. Halfway through, you might want to flip them to ensure even cooking on both sides. The key is to watch for that beautiful golden-brown color and an internal temperature of at least 165°F (75°C) to ensure safety and juiciness.
Once done, let your crispy baked chicken tenders rest for a few minutes before serving. This allows the juices to redistribute, keeping the chicken moist while maintaining that crunch.
Serving suggestion: Pair these tenders with your favorite dipping sauces and a side of fresh veggies for a complete meal.
Now you’ve mastered the art of making crispy baked chicken tenders! They’re perfect for weeknight dinners or gatherings with friends. Enjoy your culinary success!
Variations on Crispy Baked Chicken Tenders
When it comes to crispy baked chicken tenders, the possibilities are nearly endless! Here are some delicious variations to elevate your meal game.
Spicy Variation with Hot Sauce
If you’re a fan of heat, try adding your favorite hot sauce to the chicken marinade. Blend 1/4 cup of hot sauce with 1/4 cup of buttermilk (or yogurt for a tangy twist). Marinate your chicken tenders for at least 30 minutes before breading. This method not only enhances flavor but also keeps the tenders moist and delicious. Feel adventurous? Experiment with different types of hot sauces for varying levels of spice!
Herb-Infused Chicken Tenders
Want a fresh take? Infuse your crispy baked chicken tenders with herbs! Mix dried or fresh herbs like oregano, thyme, and rosemary into the breading mixture. A touch of garlic powder and onion powder can complement this too. You’ll get a delightful flavor profile that pairs beautifully with a side of roasted veggies or a light salad. Herbs also add nutritional value, meaning you’re not just savoring flavor but also boosting health benefits.
Gluten-Free Options Explained
For those needing a gluten-free choice, replace traditional breadcrumbs with alternatives like panko made from gluten-free bread or ground oats. Cornflake crumbs or almond flour also work wonders, giving the chicken an extra crispy texture. Make sure to verify that all ingredients, especially sauces and seasonings, are gluten-free to ensure your meal is safe for everyone at the table.
By customizing your crispy baked chicken tenders, you’ll keep meals exciting while catering to diverse dietary preferences. So, what variation are you planning to try first?
Cooking Tips and Notes for Crispy Baked Chicken Tenders
Ensuring Maximum Crispiness
To achieve those crispy baked chicken tenders you crave, start with a few key methods:
- Dry the Chicken: Pat the chicken pieces dry with paper towels before breading. This simple step allows the coating to adhere better and stay crispy.
- Use a Wire Rack: Place the tenders on a wire rack set over a baking sheet to allow air circulation. This prevents moisture buildup and ensures even cooking.
- Double Coat for Extra Crunch: For the ultimate texture, try double dipping your chicken in the egg wash and breadcrumbs. This creates a thicker crust that’s far crunchier.
Best Practices for a Smooth Cooking Process
- Preheat Your Oven: Don’t skip this! A hot oven (around 425°F) is crucial for that golden-brown exterior.
- Evenly Cut Chicken: Make sure all tenders are uniform in size; this guarantees they cook evenly.
- Prep Ahead: Consider breading the chicken the night before and storing it in the fridge. This allows the flavors to meld and makes dinner prep a breeze!
By following these tips, you’ll not only have success with your crispy baked chicken tenders, but you might also enjoy trying them out with different seasonings or dips—like a tangy avocado sauce. For more insights on cooked chicken, check out the USDA’s poultry guidelines for safe cooking practices here. Happy cooking!
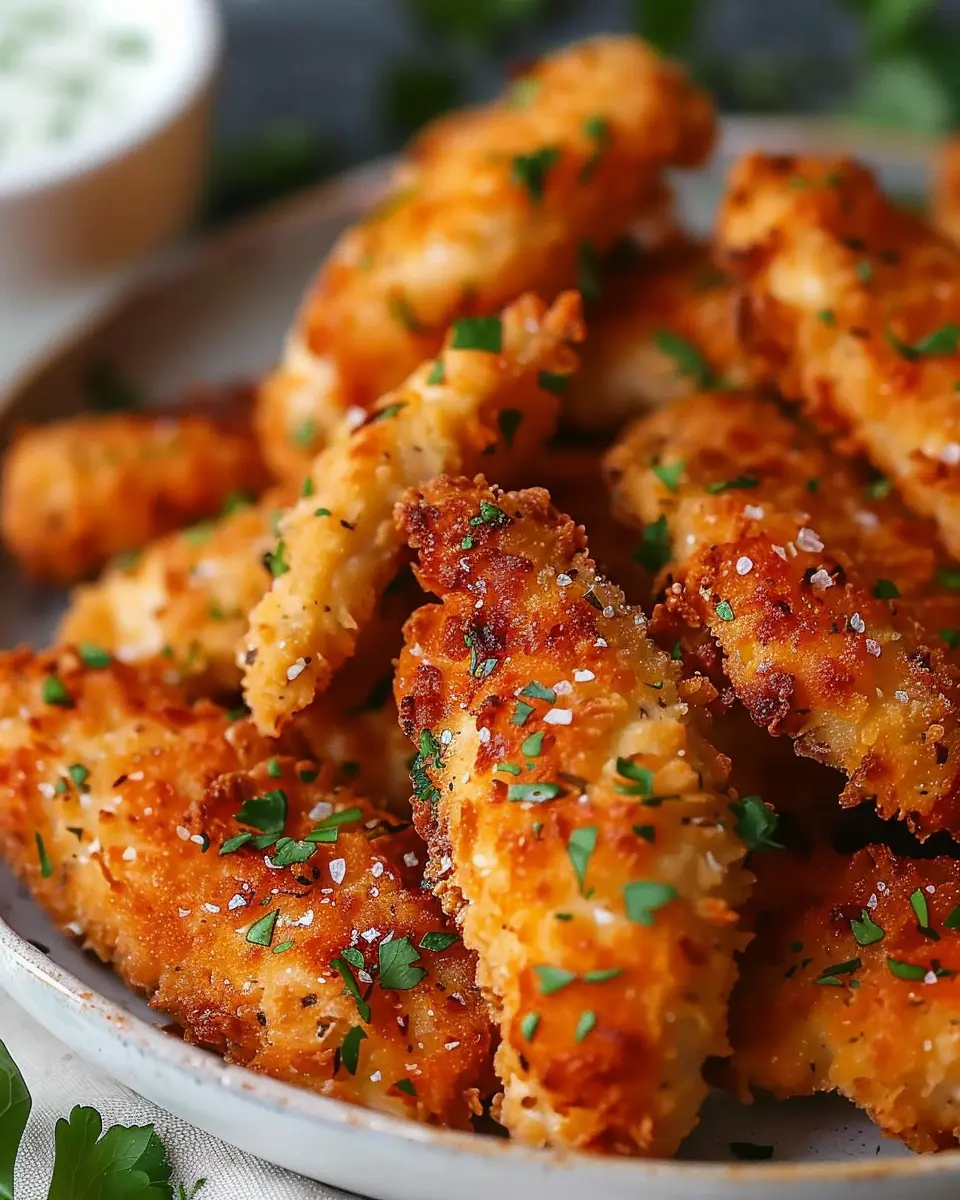
Serving Suggestions for Crispy Baked Chicken Tenders
Dipping Sauces that Elevate Your Tenders
Elevate your crispy baked chicken tenders with delicious dipping sauces that are sure to impress. Consider these crowd-pleasers:
- Honey Mustard: This sweet and tangy sauce pairs perfectly, balancing the chicken’s flavor beautifully.
- Spicy Mayo: Mix mayonnaise with sriracha for a creamy kick that adds a whole new dimension.
- BBQ Sauce: A classic choice—smoky and sweet, it’s perfect for those who love a rich flavor.
You can also explore making homemade sauces. For a quick recipe, check out these easy sauces that can really bring out the best in your tenders.
Side Dishes to Complement Your Meal
Now that you have your tenders sorted, think about what to serve alongside them. Here are some ideas:
- Crispy Sweet Potato Fries: A healthier option that adds a delightful sweetness.
- Coleslaw: This fresh, crunchy side offers a nice contrast to the tender chicken.
- Roasted Vegetables: A mix of seasonal veggies adds color and nutrition to your plate.
With these pairings, your meal will be both satisfying and fulfilling, perfect for a dinner with friends or a cozy night in. Happy cooking!
Time Breakdown for Crispy Baked Chicken Tenders
When preparing crispy baked chicken tenders, understanding the time commitment can truly enhance your cooking experience. Here’s a helpful breakdown to keep you on track:
Preparation Time
The prep work for these delicious tenders takes around 15 minutes. This gives you just enough time to gather your ingredients, slice the chicken, and mix those flavorful coatings.
Cooking Time
The cooking process typically lasts about 25 minutes. This is when your kitchen will fill with irresistible aromas, and you’ll see your chicken transforming into golden-brown perfection.
Total Time
In total, you’ll spend approximately 40 minutes from start to finish. That’s a small investment for a wholesome, crispy meal. Perfect for a busy weeknight or a delightful weekend treat! For variations, don’t hesitate to check out tips on cooking chicken perfectly or explore different coating options that elevate your tenders!
Nutritional Facts for Crispy Baked Chicken Tenders
Calories and Macronutrient Breakdown
When you whip up a batch of crispy baked chicken tenders, you’re not just indulging your taste buds; you’re also fueling your body. Each serving typically contains around 250 calories, offering a satisfying balance of macronutrients:
- Protein: Approximately 20g, essential for muscle repair and growth.
- Carbohydrates: Around 15g, providing energy for your busy day.
- Fats: About 10g, including healthy sources for heart health.
For those counting macros, this dish hits the spot without weighing you down.
Health Benefits of Homemade Tenders
Making your own crispy baked chicken tenders at home not only allows for a healthier alternative to fried versions but also provides numerous health benefits. You have complete control over the ingredients, helping eliminate unwanted additives and excess sodium often found in store-bought options. According to the American Heart Association, choosing lean proteins like chicken can support overall heart health, making these tenders a heart-friendly choice.
Plus, when you use whole grain breadcrumbs or alternative coatings, you increase fiber content, enhancing digestion. Curious about other ways to boost your nutritional intake? Check out this article on healthy cooking techniques from the Harvard T.H. Chan School of Public Health.
Embrace the opportunity to enjoy a delicious meal that’s not just about flavor, but also about nourishing your body!
FAQs about Crispy Baked Chicken Tenders
Can I use boneless chicken breasts instead?
Absolutely! Using boneless chicken breasts is a fantastic option for making crispy baked chicken tenders. They provide a leaner alternative, and the cooking method remains the same. Just cut the chicken into evenly-sized strips to ensure they cook through consistently. You can even marinate them for a couple of hours before coating to add extra flavor.
How do I store leftover chicken tenders?
Leftover crispy baked chicken tenders can be stored in an airtight container in the refrigerator for up to 3-4 days. To reheat, place them in an oven set to 375°F (190°C) for about 10-15 minutes or until heated through. This way, you’ll restore some of that delightful crispiness! If you’d like to keep them longer, consider freezing them. Just make sure to wrap each piece tightly in foil or freezer-safe bags, and they’ll last for about 2-3 months.
What dipping sauces pair best with crispy baked chicken tenders?
The right dipping sauce can elevate your crispy baked chicken tenders to a new level! Here are a few popular choices:
- Honey Mustard: A sweet and tangy classic that balances the savory tenders.
- BBQ Sauce: Perfect for those who enjoy a smoky flavor.
- Ranch Dressing: Creamy and herby, it’s a favorite in many households.
- Buffalo Sauce: If you’re feeling adventurous, why not add some spice?
Remember, the best dip is the one that brings you joy, so don’t hesitate to get creative! For more sauce ideas, check out this comprehensive list of dipping sauces that could inspire your next meal.
Conclusion on Crispy Baked Chicken Tenders
A Final Note on the Joys of Homemade Cooking
There’s something truly rewarding about whipping up a batch of crispy baked chicken tenders in your own kitchen. Not only do you get to customize flavors and dips to match your cravings, but you also know exactly what goes into each bite. This kind of cooking invites creativity, offering a delicious project that can comfortably transition from a weeknight dinner to a weekend gathering.
Think about it—baking allows you to achieve that satisfying crunch while keeping things healthy. Plus, who doesn’t love the mouthwatering aroma that fills your home? If you’re in need of variations, consider pairing these tenders with homemade sauces or even a side of roasted veggies. Dive into the adventure of cooking; you won’t regret it! For more inspiration, check out this fantastic guide on healthy meal prep for easy weeknight ideas.
PrintCrispy Baked Chicken Tenders That Will Delight Your Taste Buds

A delightful recipe for crispy baked chicken tenders that are easy to prepare and sure to please.
- Prep Time: 15 minutes
- Cook Time: 25 minutes
- Total Time: 40 minutes
- Yield: 4 servings
- Category: Main Course
- Method: Baking
- Cuisine: American
- Diet: Gluten-Free
Ingredients
- 1 pound chicken breast, cut into strips
- 1 cup bread crumbs
- 1/2 cup flour
- 2 eggs, beaten
- 1 teaspoon garlic powder
- 1 teaspoon onion powder
- 1 teaspoon paprika
- 1/2 teaspoon salt
- 1/4 teaspoon black pepper
- 1/4 teaspoon cayenne pepper
Instructions
- Preheat your oven to 400°F (200°C).
- In a bowl, mix the bread crumbs, garlic powder, onion powder, paprika, salt, pepper, and cayenne.
- In another bowl, place the flour. In a third bowl, beat the eggs.
- Dip each chicken strip in the flour, then in the eggs, and finally in the bread crumb mixture.
- Place the coated chicken strips on a baking sheet.
- Bake for 20-25 minutes or until golden brown and cooked through.
Notes
- For extra crispiness, spray the tenders with cooking spray before baking.
Nutrition
- Serving Size: 4 pieces
- Calories: 350
- Sugar: 2g
- Sodium: 600mg
- Fat: 10g
- Saturated Fat: 2g
- Unsaturated Fat: 5g
- Trans Fat: 0g
- Carbohydrates: 30g
- Fiber: 2g
- Protein: 30g
- Cholesterol: 150mg

")