
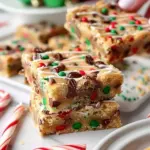
Why Christmas Cookie Bars Are the Perfect Treat
When the holiday season rolls around, nothing quite captures the festive spirit like baking. And while traditional cookies are delightful, have you tried Christmas cookie bars? They are the ideal combination of convenience and deliciousness, perfect for busy young professionals looking to spread a little cheer without spending countless hours in the kitchen.
Quick and Easy to Make
One of the biggest advantages of cookie bars is their simplicity. Instead of rolling dough and cutting out shapes, you can mix your ingredients in one bowl, pour the batter into a pan, and bake. This means less clean-up—an important consideration for those of you trying to balance work and festivities! You can have these sweet treats ready in less than an hour, enabling you to spend more time enjoying the holidays with family and friends.
Versatile Flavor Combinations
From classic chocolate chip to peppermint-infused delights, the flavor possibilities are endless. Consider adding festive ingredients like dried cranberries, nuts, or even a layer of creamy frosting. Check out this fantastic resource for ideas on custom flavor combinations here and turn your cookie bars into a conversation starter at your next gathering.
Perfect for Sharing
Whether you’re looking to impress colleagues at an office party or your neighbors with holiday goodies, Christmas cookie bars are easy to slice and share. You can cut them into bite-size pieces, making them perfect for gifting or potlucks. Imagine presenting a beautiful, colorful platter that delights the eyes—and taste buds—of everyone around!
A Sweet Holiday Tradition
Baking Christmas cookie bars can also become a cherished holiday tradition. Gather friends or family members for a baking night, complete with festive music and holiday stories. It creates memories that will last far beyond the treats themselves.
In summary, if you’re on the hunt for a festive, easy, and shareable dessert, look no further than our Christmas cookie bars guide. With just a few ingredients and a bit of creativity, you can create something magical this holiday season. Happy baking!
Ingredients for Christmas Cookie Bars
When it comes to transforming your holiday baking, this Christmas cookie bars guide will take your treats from ordinary to extraordinary. Let’s dive into the essential ingredients that make these bars so irresistible.
Core Ingredients for the Base
To craft the perfect cookie bar base, you’ll need:
- Butter: 1 cup of unsalted butter, softened, brings richness to your bars.
- Brown Sugar: 1 cup will add moisture and depth of flavor.
- Granulated Sugar: ½ cup balances the brown sugar’s richness.
- Eggs: 2 large eggs for binding and texture.
- Vanilla Extract: 1 tablespoon enhances the sweet aroma.
- Flour: 2 ½ cups of all-purpose flour creates a sturdy base.
- Baking Soda: 1 teaspoon helps them rise.
- Salt: Just a pinch (½ teaspoon) elevates the sweetness.
These core ingredients set the stage for deliciousness!
Mix-ins for Festive Flair
Now for the fun part—add some dazzling mix-ins that not only boost flavor but also sprinkle in that holiday spirit:
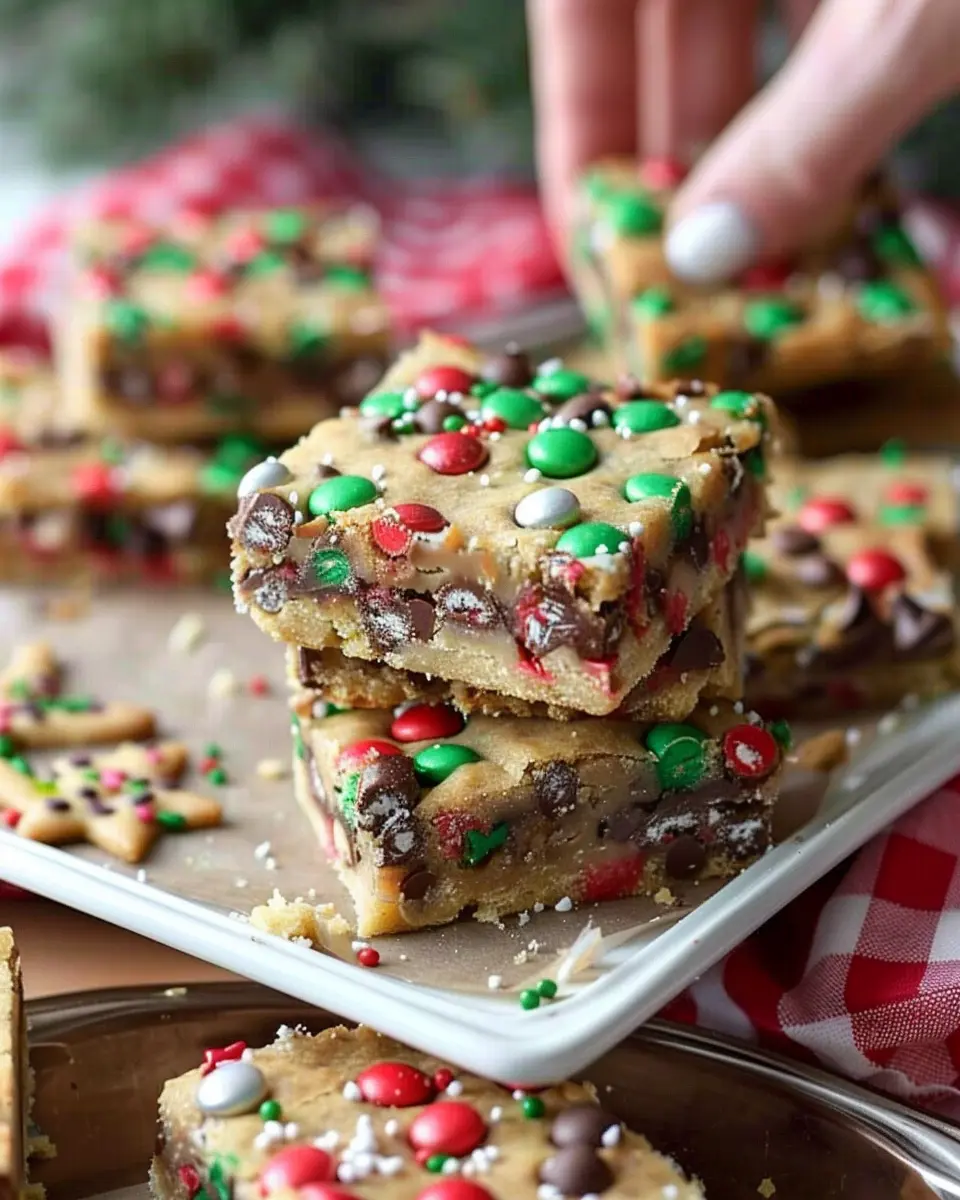
- Chocolate Chips: 1 cup (milk or dark) is a classic choice.
- Nuts: 1 cup of chopped walnuts or pecans adds crunch.
- Dried Fruits: Consider ⅔ cup of cranberries or apricots for a tart sweetness.
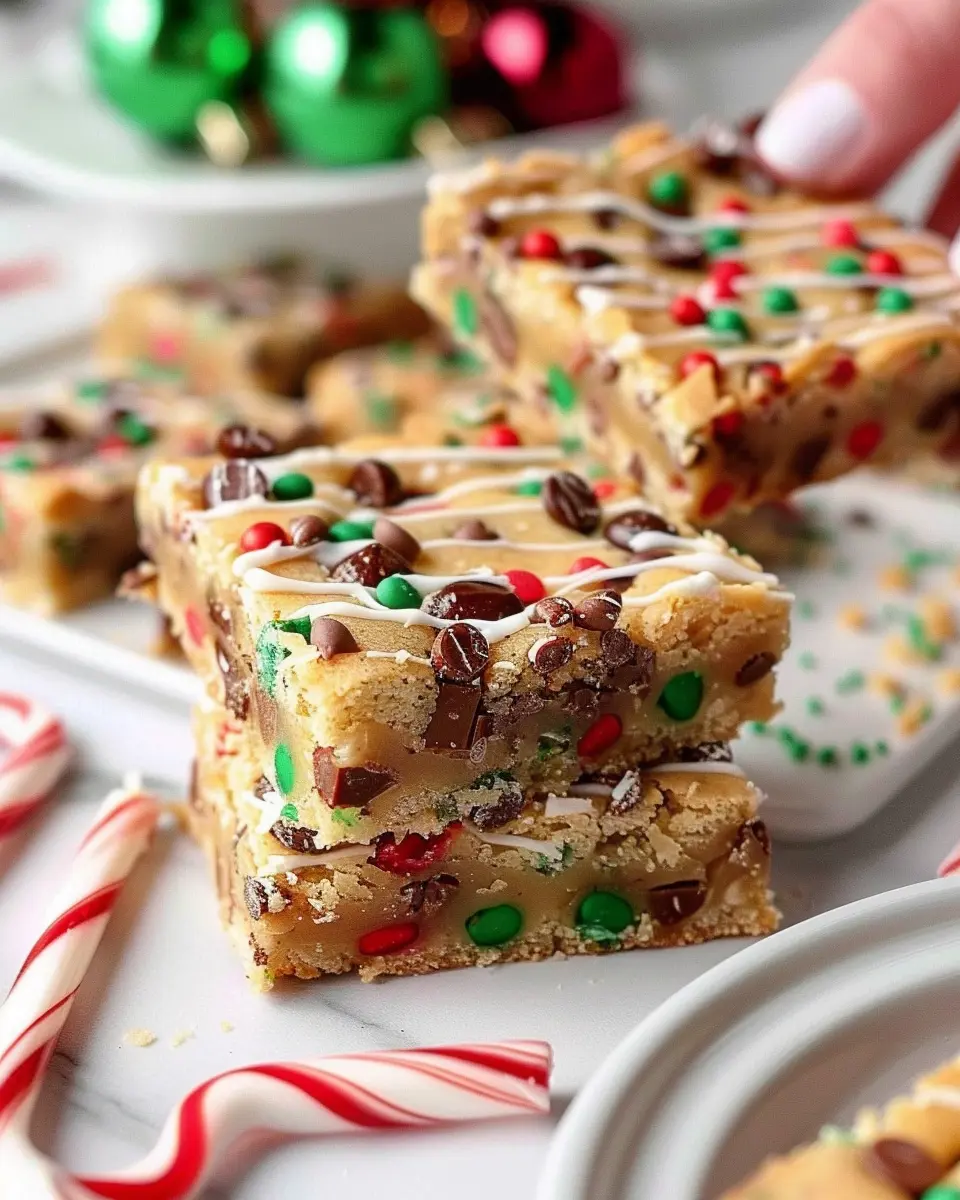
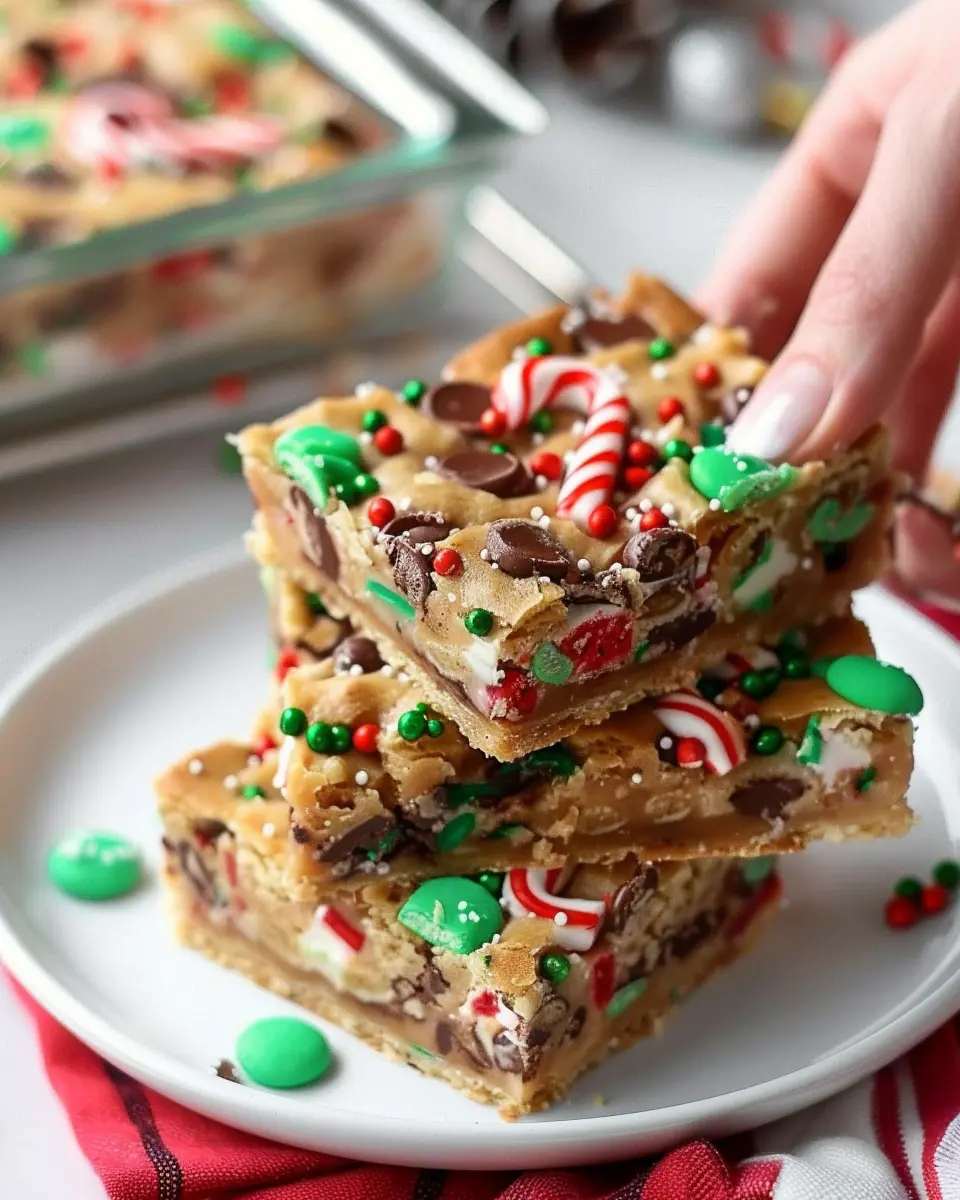
- Festive Sprinkles: A handful of rainbow or holiday-themed sprinkles will seriously up your cookie game!
These mix-ins help to personalize your Christmas cookie bars and make them truly unique. For more tips and variations, check out The Kitchn for inspiration!
Happy baking, and make sure to share your flavorful creations with friends and family this holiday season!
Step-by-Step Preparation of Christmas Cookie Bars
When it comes to holiday baking, nothing brings more cheer than the tantalizing aroma of fresh Christmas cookie bars wafting through your home. These delicious treats are perfect for sharing at parties, gifting to friends, or simply enjoying with a cozy cup of hot cocoa. Follow this Christmas cookie bars guide for step-by-step instructions that will make your baking experience seamless and enjoyable.
Preheat and prepare your baking pan
Before you dive into mixing ingredients, start by preheating your oven to 350°F (175°C). This ensures that your cookie bars will bake evenly. While you wait for the oven to reach the perfect temperature, grab a 9×13-inch baking pan and line it with parchment paper, leaving an overhang on the sides. This little tip makes it super easy to lift the bars out once they’ve cooled. Don’t forget to lightly grease the parchment with non-stick spray for easy removal!
Combine the base ingredients
In a large mixing bowl, combine the following base ingredients:
- 1 cup (2 sticks) of unsalted butter, softened
- 1 cup packed brown sugar
- 1/2 cup granulated sugar
- 2 large eggs
- 2 teaspoons vanilla extract
Using an electric mixer, blend these ingredients until they’re smooth and creamy. This is where the magic begins! The butter and sugars work together to create a fluffy texture that will make your cookie bars divine. Mixing by hand is possible if you don’t want to pull out the mixer, but I promise you’ll appreciate the creamy mix that the electric mixer provides.
Mix in the dry ingredients
In a separate bowl, whisk together your dry ingredients:
- 2 cups all-purpose flour
- 1 teaspoon baking powder
- 1/2 teaspoon baking soda
- 1/2 teaspoon salt
Gradually add this dry mixture to the wet ingredients, mixing until just combined. Overmixing can lead to dense bars, and we definitely want ours to be beautifully soft! Incorporating dry ingredients with a gentle touch is key to achieving that perfect texture.
Stir in the fun mix-ins
Here’s where you can really get creative! The beauty of Christmas cookie bars is that they can be customized to suit your taste. Toss in:
- 1 cup chocolate chips (or a mix of your favorite kinds)
- 1/2 cup chopped nuts (like walnuts or pecans)
- 1/2 cup festive sprinkles for that holiday flair
Use a spatula to fold in your fun mix-ins. This step adds not only flavor but also that delightful crunch that everyone loves!
Bake the bars to perfection
Pour your cookie bar batter into the prepared baking pan, spreading it evenly with a spatula. Pop the pan into your preheated oven and bake for about 25-30 minutes, or until the edges are golden brown and a toothpick inserted in the center comes out clean. Resist the urge to open the oven door too early; this can cause your bars to sink!
Let cool and slice them up
Once baked, remove the pan from the oven and place it on a wire rack to cool. Let your Christmas cookie bars cool in the pan for about 10 minutes before using the parchment overhang to lift them out. Allow them to cool completely before slicing them into squares. This step is essential if you want clean cuts!
Get ready to share your delicious Christmas cookie bars with friends and family or keep a batch all to yourself to enjoy all season long. Not sure what to do with leftover cookie bars? They freeze beautifully – just wrap them in plastic wrap and pop them in the freezer for a treat later on.
With this Christmas cookie bars guide, you’re all set to create the ultimate festive dessert. Happy baking and may your holiday season be filled with joy and sweet treats! For more baking tips, don’t forget to check out reputable sources like The Kitchn or Serious Eats for expert advice and inspiration!
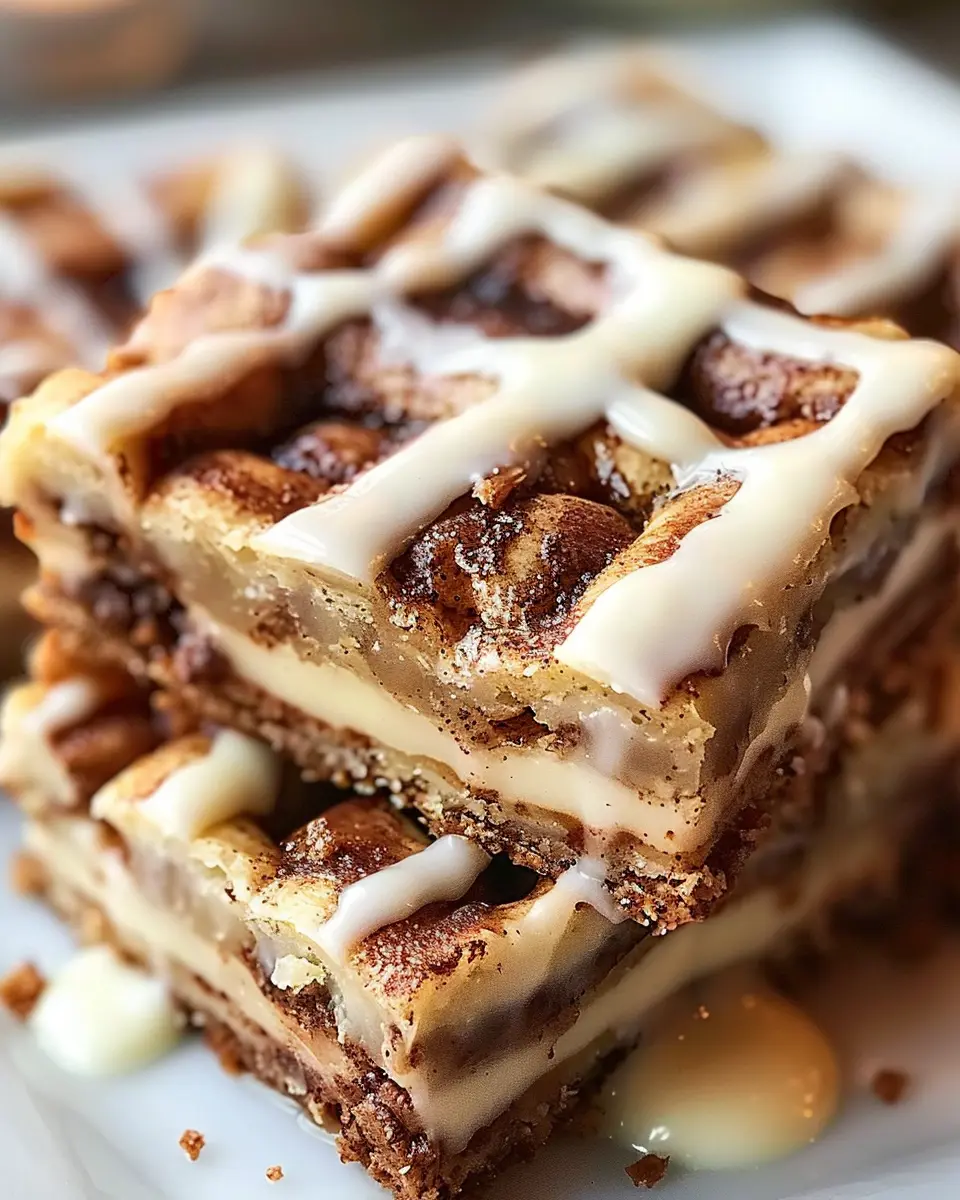
Variations on Christmas Cookie Bars
Exploring unique takes on Christmas cookie bars can elevate your holiday baking game, creating treats that not only look festive but also taste incredible. Let’s dive into two fabulous variations that are sure to become family favorites!
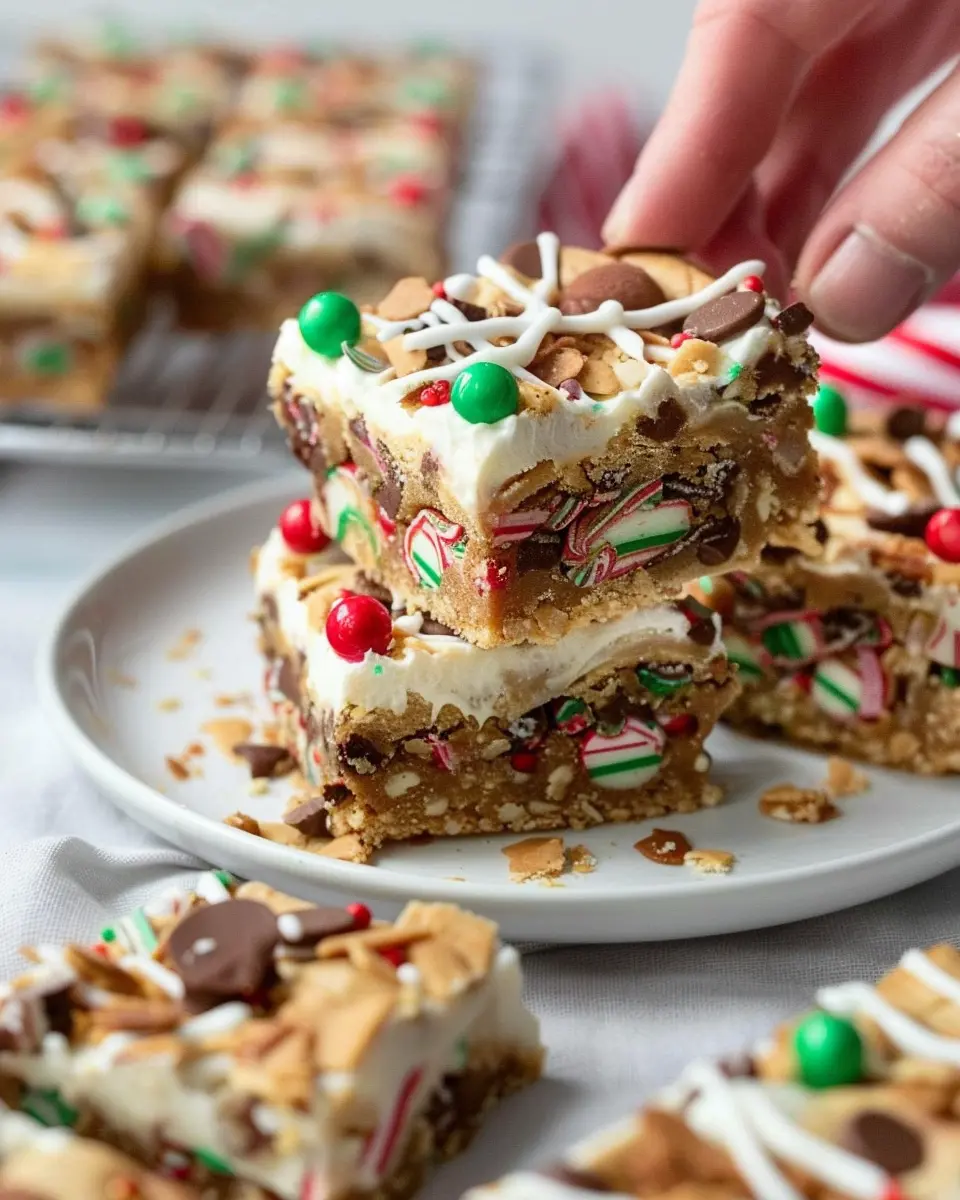
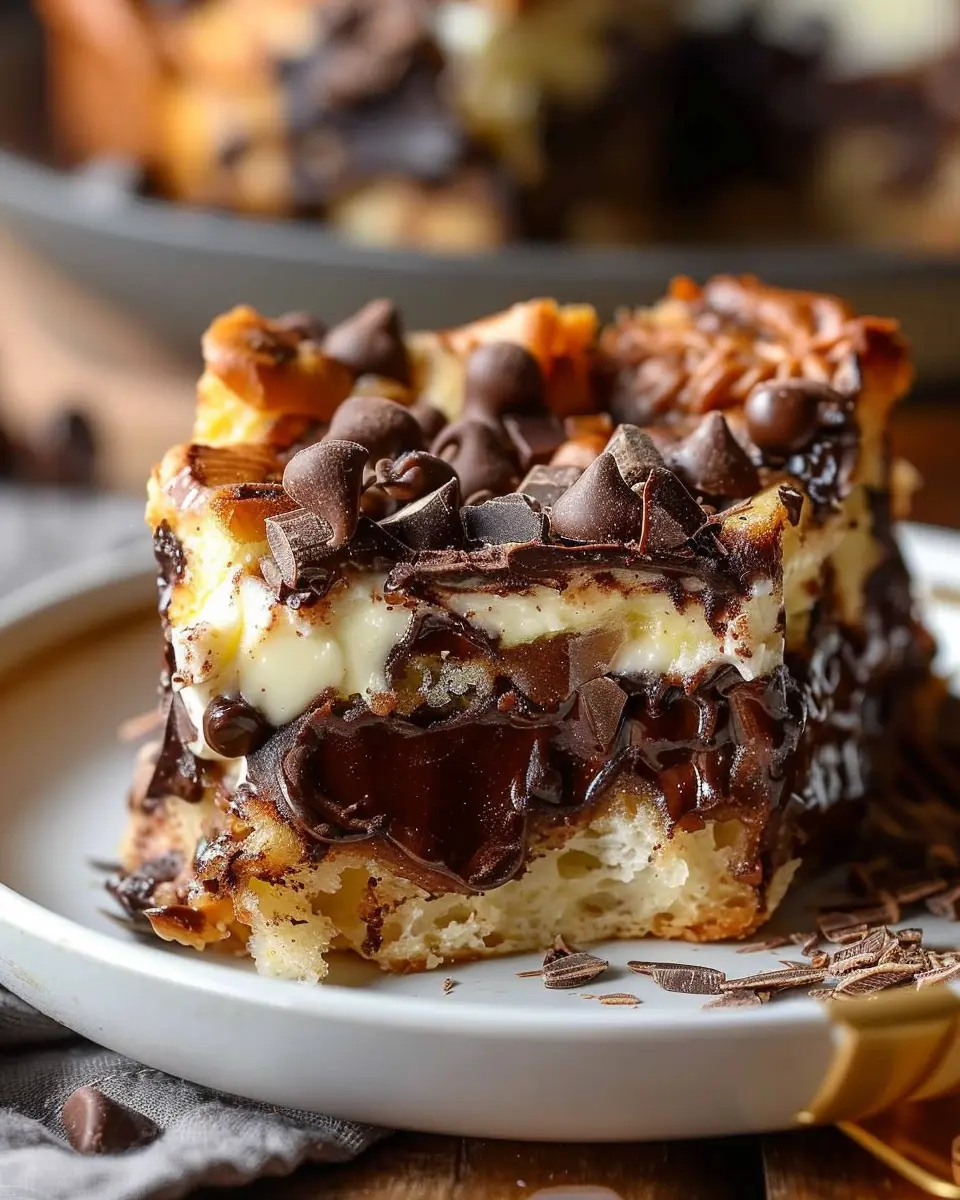
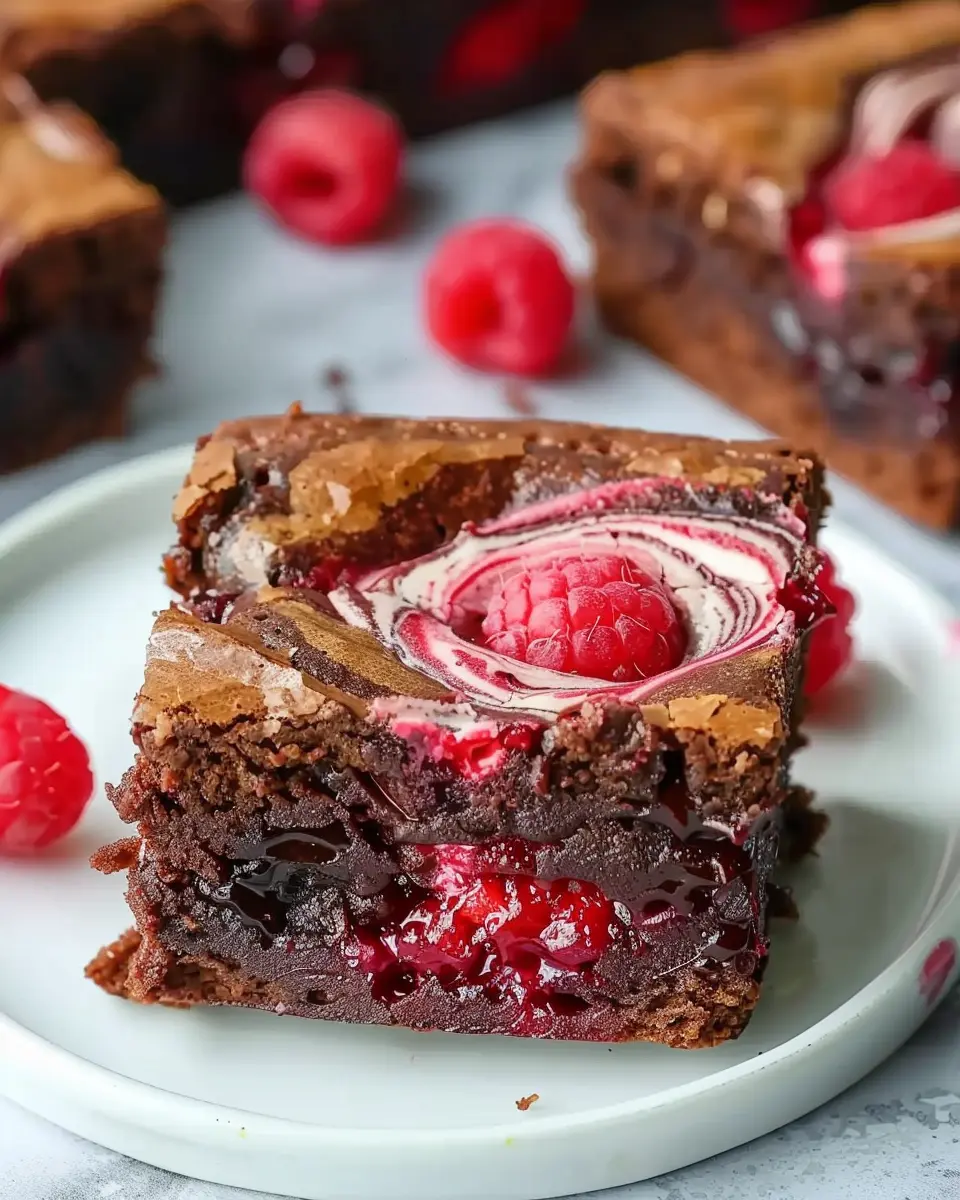
Minty Chocolate Christmas Cookie Bars
Imagine biting into a delectable layer of chocolate complemented by a refreshing mint flavor—it’s a match made in holiday heaven. Start by preparing a rich chocolate brownie base, then fold in chunks of your favorite mint chocolate. For an extra indulgent touch, top with a layer of cream cheese frosting infused with peppermint extract. The result? A minty chocolatey delight that’s simply irresistible.
To make this variation even more special:
- Consider garnishing with crushed peppermint candies or drizzled chocolate.
- Serve warm with a scoop of vanilla ice cream for a cozy dessert experience.
This combination not only satisfies your sweet tooth but also brings a festive twist to traditional chocolate bars, making it a standout treat worthy of your Christmas cookie bars guide.
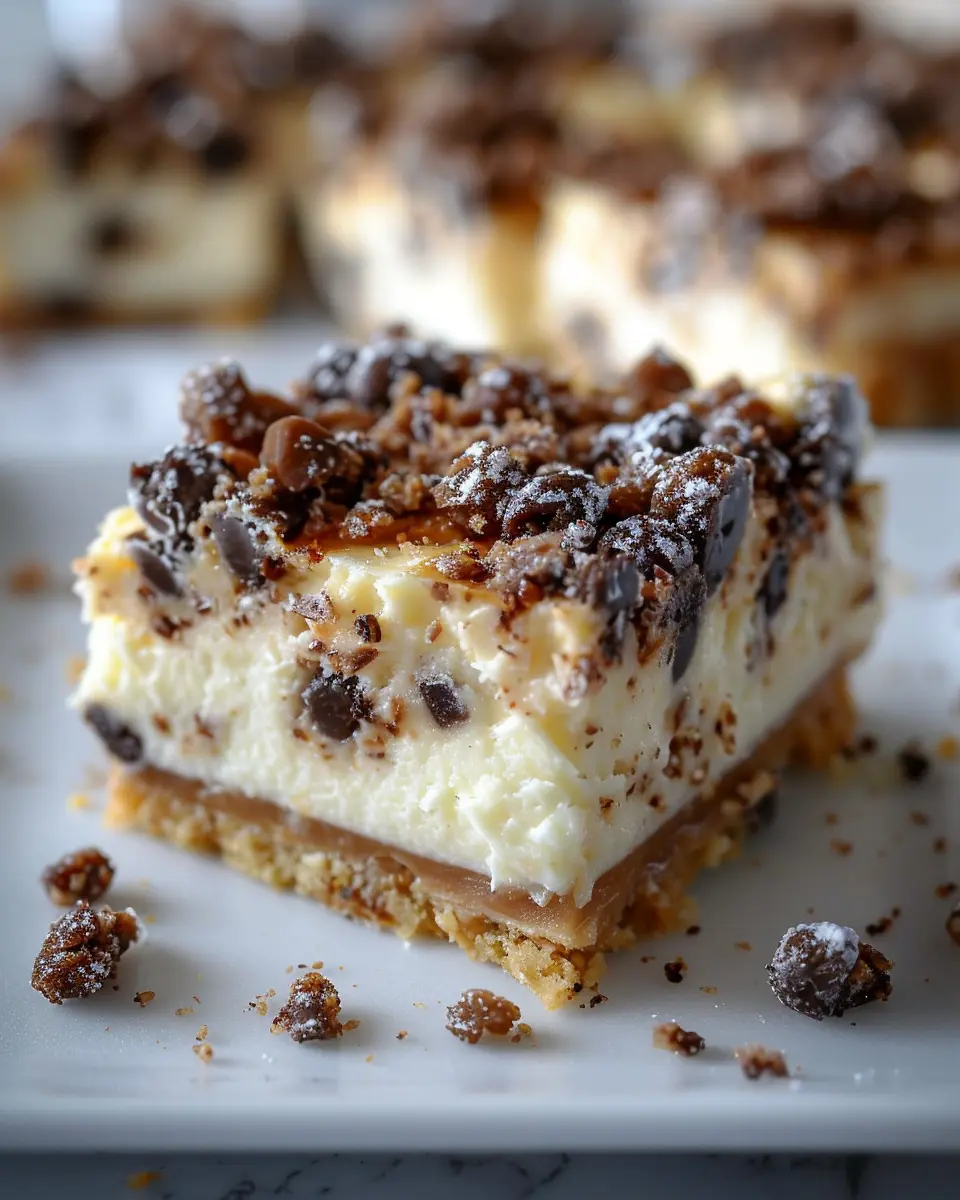
Nutty Caramel Cookie Bars
If you’re looking for a bar that combines the richness of nuts with the gooey sweetness of caramel, this one’s for you. Begin with a classic buttery cookie base, and then fold in a mix of chopped pecans and walnuts for that satisfying crunch. For the caramel layer, a simple homemade caramel sauce will do wonders—just melt sugar until golden and mix in heavy cream.
Here’s how to bring this together:
- Layer the caramel on top of the nutty cookie base and allow it to cool before cutting into squares.
- Top with a sprinkle of sea salt to enhance the caramel’s sweetness.
Both variations are not only delicious but also showcase the versatility of cookie bars. So, as you plan your holiday baking, don’t hesitate to experiment and make these treats your own! For more inspiration on cookie variations, check out Taste of Home or Serious Eats.
Baking Tips and Notes for Christmas Cookie Bars
Adjusting Consistency and Texture
When making your Christmas cookie bars, achieving the perfect consistency is key. If your batter seems too dry, a splash of milk or melted butter can work wonders. Conversely, if it’s too wet, consider adding a bit more flour. A helpful tip is to let your dough rest in the fridge for about 30 minutes—this not only enhances flavor but can also improve the texture. For those seeking a fudgier bar, simply reduce the baking time by a few minutes; they’ll continue to firm up as they cool!
Storing and Freezing Your Cookie Bars
Storing your Christmas cookie bars properly ensures they stay delicious long after baking. Place them in an airtight container at room temperature for up to a week. For longer storage, freeze them! Cut the bars into squares, then wrap each piece tightly in plastic wrap before placing them in a freezer bag. This way, they can last up to three months. When you’re ready to enjoy them again, let them thaw in the fridge overnight—perfect for spontaneous holiday gatherings! For more tips on storage, check out Food Safety and Preservation.
Happy baking!
Serving Suggestions for Christmas Cookie Bars
Perfect Pairings with Beverages
When it comes to enjoying your Christmas cookie bars, the right beverage can elevate the experience. Consider pairing your bars with:
- Hot Cocoa: A classic choice, especially if you whip in some marshmallows or peppermint for an extra festive touch.
- Spiced Apple Cider: The warm spice notes complement the sweetness of the bars beautifully.
- Herbal Teas: Flavors like chai or cinnamon can add a cozy vibe, perfect for mingling with friends during the holidays.
For a creative twist, how about innovating with flavored sparkling water? Not only is it refreshing, but it adds a light fizz that beautifully contrasts the dense texture of the cookie bars.
Ideas for Festive Presentations
Presentation is key when serving Christmas cookie bars, especially at gatherings.
- Layered on Platters: Stack your bars in layers interspersed with festive garnishes like fresh cranberries or mint leaves.
- Cookie Boxes: For gift-giving, consider boxing them in decorative containers tied with a ribbon. It’s a delicious way to share your Christmas cookie bars guide with loved ones.
- With Holiday Themed Decor: Use holiday-themed dishes or include small ornaments around your serving area to create a warm, inviting atmosphere.
These little touches can make your holiday gatherings memorable and delightful for everyone involved!
Time Breakdown for Christmas Cookie Bars
Getting everything right for your dessert table can feel overwhelming, but with our Christmas Cookie Bars guide, you’ll know exactly what to expect. Let’s break down the time commitment involved in making these delicious treats.
Preparation Time
You’ll need about 15-20 minutes to gather your ingredients and prepare the baking pan. Make sure to have everything at hand, as a larger workspace can make the process smoother.
Cooking Time
The actual baking time is around 25-30 minutes. Keep an eye on the edges; they should be golden brown while the center remains soft. It’s incredible how this sweet aroma will fill your home during this time!
Cooling Time
Once they’ve baked, allow your cookie bars to cool for at least 30-45 minutes before cutting into them. This step is crucial, as a little patience ensures you get perfectly shaped bars instead of a delicious mess!
Elevate your cookie game this holiday season! For tips on baking techniques, check out resources from sources like the American Baking Guild.
With this time breakdown, you can plan your baking adventure with confidence and enjoy the sweet rewards of your efforts!
Nutritional Facts for Christmas Cookie Bars
Calories and Serving Size
When indulging in Christmas cookie bars, it’s always good to keep track of calories. Typically, one serving (about 2 inches square) contains around 150-200 calories. This can vary based on the specific ingredients you use, like sweeteners and toppings. If you’re keen on portion control, consider using a baking pan that helps you cut uniform sizes—keeping your holiday spirit balanced!
Key Nutritional Content to Consider
As part of our Christmas cookie bars guide, here are some key nutritional details to keep in mind:
-
Fats: While these cookie bars can be rich, opting for healthier fats, like coconut oil or nut butters, can give you a nutrient boost.
-
Sugars: Pay attention to sugar content—consider reducing sugar or using natural alternatives like honey or maple syrup.
-
Fiber: Incorporating oats or whole grains enhances fiber, promoting better digestion.
For further insights on balanced eating during the holidays, check out this article by the American Heart Association that emphasizes mindful snacking during festive seasons.
By keeping these factors in mind, you can savor every bite while staying health-conscious this holiday season!
FAQs About Christmas Cookie Bars
How can I customize my Christmas cookie bars?
One of the joys of making Christmas cookie bars is how easily they can be customized to fit your taste! Here are some ideas to get your creative juices flowing:
- Flavors: Swap traditional vanilla extract for almond or peppermint extract for a fun twist.
- Mix-ins: Consider adding in ingredients like dried fruits, nuts, or even chocolate chips. A mix of white chocolate and cranberry can be particularly festive!
- Frosting: Top your bars with a simple glaze or cream cheese frosting for extra sweetness. You could even sprinkle some festive colored sugar for a sparkling finish.
For additional inspiration, check out this customization guide.
What if my bars turn out too dry?
If your Christmas cookie bars end up too dry, don’t fret! This can happen for a number of reasons, such as overbaking or a measure gone awry. Here’s what you can do:
- Add moisture: Try adding a simple syrup made of equal parts water and sugar. Brush it lightly across the surface.
- Serve with a side: Pair the bars with a scoop of ice cream or a dollop of whipped cream to enhance the moisture factor.
Can I make these cookie bars ahead of time?
Absolutely! Making your Christmas cookie bars in advance can save you time during the hectic holiday season. Just follow these tips:
- Storage: Wrap the cooled bars tightly in plastic wrap or place them in an airtight container.
- Freezing: If you want to bake them even earlier, freeze them! Be sure to cut them into bars, then freeze them in a single layer before transferring to a container.
By planning ahead, you can enjoy delicious cookie bars fresh out of the oven whenever the mood strikes! If you’re looking for more tips, our Christmas cookie bars guide can provide further insights.
Conclusion on Christmas Cookie Bars
Why These Bars Should Be Part of Your Holiday Tradition
In the spirit of the holiday season, Christmas cookie bars deserve a permanent spot on your dessert table. Their simple preparation and delightful taste make them a stress-free way to capture the essence of festive baking. Imagine gathering your friends and family, warmed by the aroma of fresh baked goods, as you dive into a batch of these delicious treats.
Not only are they versatile—think layers of chocolate, nuts, and dried fruits—but they also allow for a personal touch, reflecting your unique style. Embrace the magic of baking this season! For more delectable recipes and tips, explore our Christmas Cookie Bars Guide. Happy baking!
Printchristmas cookie bars guide: the best festive treats to share
Your ultimate guide to making delicious Christmas cookie bars that are perfect for sharing during the festive season.
- Prep Time: 15 minutes
- Cook Time: 30 minutes
- Total Time: 45 minutes
- Yield: 12 bars
- Category: dessert
- Method: baking
- Cuisine: American
- Diet: vegetarian
Ingredients
- 2 cups all-purpose flour
- 1 cup unsalted butter, softened
- 1 cup granulated sugar
- 1 cup brown sugar, packed
- 2 large eggs
- 1 teaspoon vanilla extract
- 1 teaspoon baking powder
- 1/2 teaspoon salt
- 2 cups chocolate chips
Instructions
- Preheat your oven to 350°F (175°C) and grease a baking pan.
- In a large bowl, cream together the butter, granulated sugar, and brown sugar.
- Add the eggs one at a time, mixing well after each addition, then stir in the vanilla.
- In another bowl, whisk together the flour, baking powder, and salt.
- Gradually mix the dry ingredients into the wet ingredients until just combined.
- Fold in the chocolate chips.
- Spread the batter evenly in the prepared baking pan.
- Bake for 25-30 minutes, or until golden brown and a toothpick inserted comes out clean.
- Allow to cool before cutting into bars.
Notes
- For added flavor, consider using nuts or coconut in your mixture.
- These cookie bars can be decorated with icing for a festive touch.
Nutrition
- Serving Size: 1 bar
- Calories: 250
- Sugar: 18g
- Sodium: 150mg
- Fat: 12g
- Saturated Fat: 7g
- Unsaturated Fat: 4g
- Trans Fat: 0g
- Carbohydrates: 30g
- Fiber: 1g
- Protein: 3g
- Cholesterol: 40mg
")