
Introduction to Christmas Cherry Bars
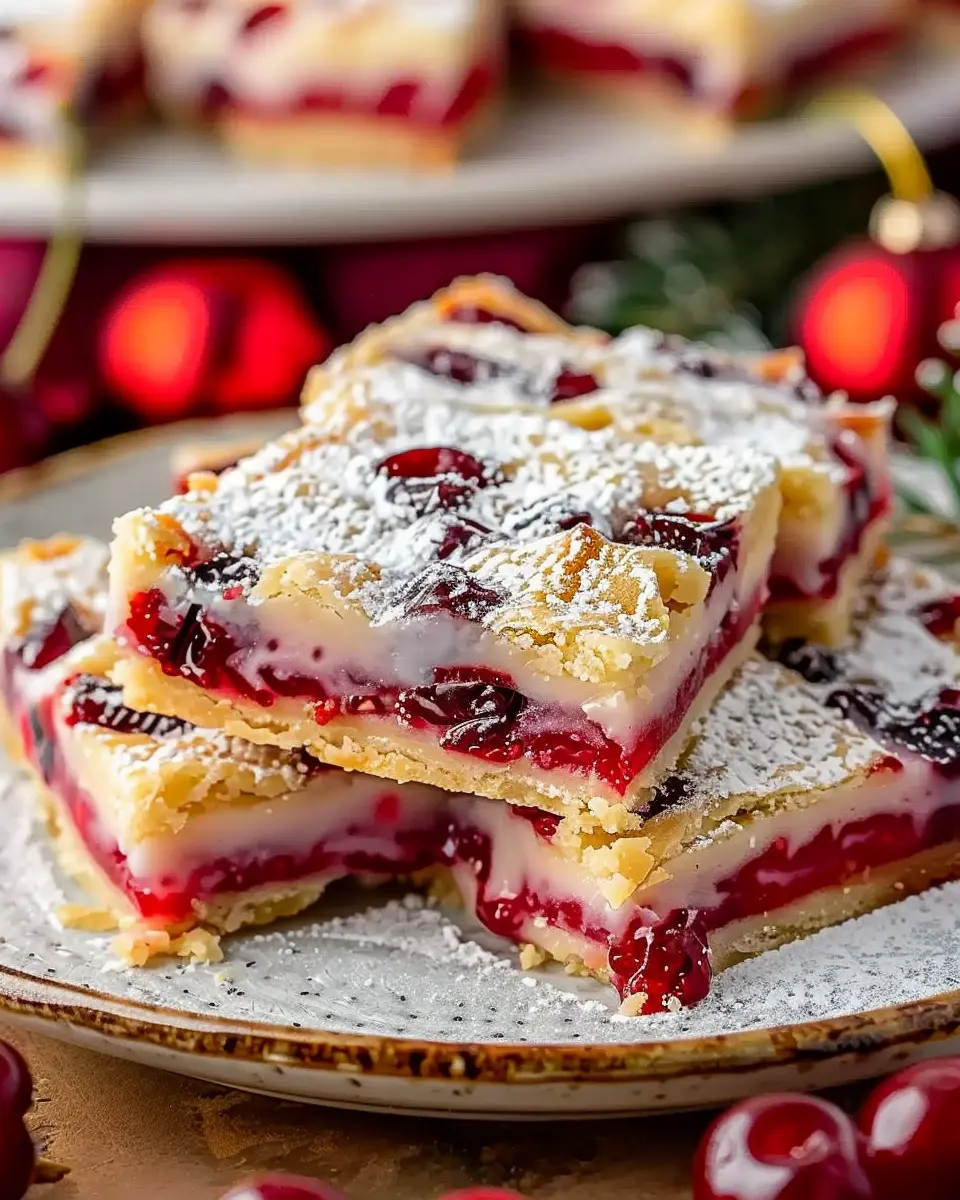
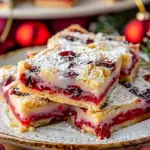
When the holidays roll around, the kitchen becomes a bustling hub of activity, filled with the aromas of warm spices, baked goods, and sweet treats. One dessert that perfectly captures the spirit of the season is Christmas Cherry Bars. These delicious confections offer a delightful combination of flavors and colors that make them an ideal addition to your holiday dessert table.
Why Christmas Cherry Bars are the Perfect Holiday Treat
Imagine biting into a soft, chewy bar studded with tart red cherries, complemented by a rich buttery base. Doesn’t that sound heavenly? These cherry bars not only appeal to your taste buds but also add a splash of festive color to your spread. Here are a few reasons why they are a must-try during the holidays:
-
Easy to Make: With straightforward ingredients and a simple preparation process, you can whip these up in no time. They’re the perfect recipe for those who are new to baking or just short on time.
-
Versatile Flavor: Christmas Cherry Bars can be easily customized. Whether you prefer fresh cherries, dried cherries, or even a mix with other fruits like cranberries or blueberries, you can craft a version that suits your palate.
-
Crowd-Pleaser: Let’s be honest—there’s something about cherry-flavored treats that captures attention. Their bright hue and unique taste make them stand out on any dessert table, ensuring they get snatched up quickly at holiday gatherings.
-
Gift-Worthy: Planning to bring a dish to a holiday party? These bars make for wonderful homemade gifts. Wrap them beautifully, and you have a thoughtful present that shows you care.
-
Nostalgia Factor: Many of us have fond memories of holiday baking sessions with family. Making Christmas Cherry Bars can easily become a new tradition, bringing generations together over the joy of cooking.
Now, if you’re excited to create these delightful treats, let’s dive into the recipe. Before we do, be sure to check out this resource on how cherry products like dried cherries can boost your mood during the holidays. You’ll find that a little bit of cherry goodness goes a long way!
Stay tuned as we explore the easy steps to crafting your very own Christmas Cherry Bars!
Ingredients for Christmas Cherry Bars
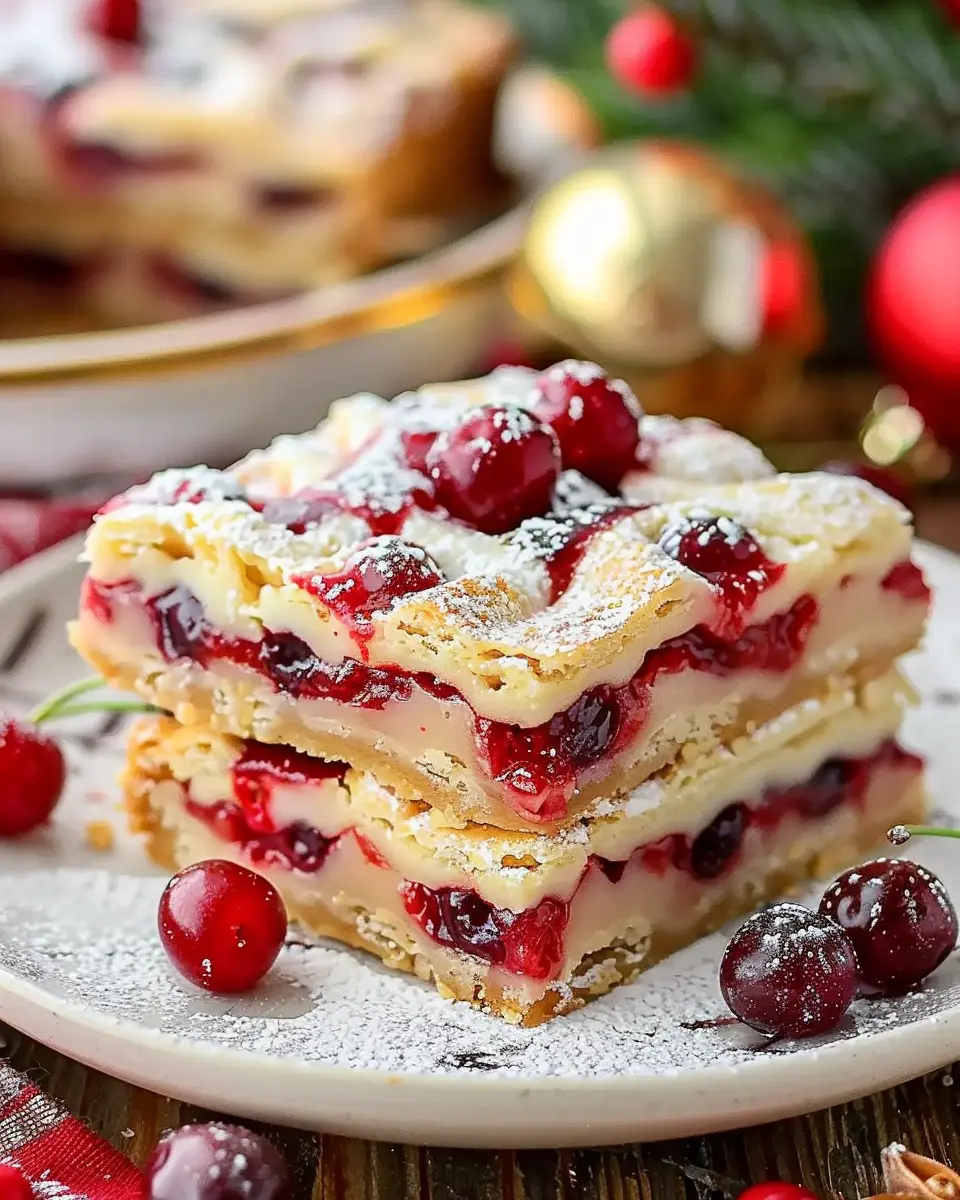
When it comes to holiday baking, Christmas Cherry Bars are a must-have treat—sweet, tangy, and oh-so-tempting! Here’s what you’ll need to whip these delightful bars up:
For the Cherry Filling:
- 2 cups of fresh or frozen cherries (if using frozen, thaw and drain)
- 1/2 cup granulated sugar
- 1 tablespoon cornstarch
- 1 teaspoon vanilla extract
- Juice of half a lemon
For the Bar Base:
- 1 1/2 cups all-purpose flour
- 1/2 teaspoon baking powder
- 1/4 teaspoon salt
- 1 teaspoon ground cinnamon
- 1/2 cup brown sugar, packed
- 1/2 cup unsalted butter, softened
- 1 large egg
- 1 teaspoon vanilla extract
Optional Toppings:
- Powdered sugar for dusting
- Chopped nuts or coconut flakes for added crunch
Before you start baking, make sure you have all your ingredients laid out. Fresh cherries, vibrant and ripe, can turn an ordinary dessert into an extraordinary one. If you want quality cherries, you might want to check out this guide on selecting the best fruits. Happy baking!
Preparing Christmas Cherry Bars
The holiday season is all about sweet treats and delightful flavors, and what better way to embrace this spirit than with homemade Christmas Cherry Bars? These delicious bars combine a buttery crust with a vibrant cherry filling, making them an irresistible addition to your festive dessert table. Let’s jump right into the preparation!
Preheat the oven and prepare the baking pan
Before diving into the mixing bowls, it’s essential to preheat your oven to 350°F (175°C). A preheated oven ensures your Christmas Cherry Bars bake evenly and achieve that perfect golden-brown crust. While the oven warms up, grab a 9×13-inch baking pan and line it with parchment paper. This not only makes for easy removal but also helps in cleaning up later. Don’t forget to leave a bit of an overhang on the sides to make lifting the bars out of the pan a breeze!
Combine dry ingredients
Now, let’s get our dry ingredients ready. In a medium bowl, whisk together:
- 1 ½ cups of all-purpose flour
- ½ cup of granulated sugar
- ½ teaspoon of salt
- 1 teaspoon of baking powder
These dry ingredients form the foundation of your crust. Mixing them well ensures that every bite of your Christmas Cherry Bars will be sweet and flavorful. By the way, did you know that using room temperature ingredients can make mixing easier? Giving that flour a little whisking helps to aerate it, making your crust light and flaky!
Incorporate chilled butter
Next, let’s give our crust that rich, buttery flavor. Take ½ cup of chilled, unsalted butter, cut into small pieces, and add it to the flour mixture. Using a pastry cutter or your fingertips, work the butter into the flour until the mixture resembles coarse crumbs. This is where the magic happens—those buttery bits will create a tender and delicious crust. If you’ve ever soaked bread with butter, you know the result is always delightful!
Mix in egg yolk and extracts
Time to add some moisture! Take a separate small bowl and combine one egg yolk (save the egg white for later!), 1 teaspoon of vanilla extract, and 1 teaspoon of almond extract. Give these a good whisk to blend them together. Then, pour this mixture into your flour and butter blend. Stir until everything comes together. The extracts not only add flavor but also fill your kitchen with that heavenly holiday aroma.
Form the crust and bake
Once your mixture is just combined, press it firmly into the bottom of your prepared baking pan. You want a nice even layer—this will be the base of your Christmas Cherry Bars. Pop the pan into the preheated oven and bake for about 15 minutes, or until the crust is lightly golden. The tempting smell of baking butter will fill the air—this is the kind of homey vibe we all love!
Prepare the filling
While the crust is baking, let’s focus on the luscious cherry filling. In a mixing bowl, combine:
- 1 can (about 21 ounces) of cherry pie filling
- 1 tablespoon of cornstarch (for thickening)
Gently stir these together until the cornstarch is dissolved. The cherries will become beautifully glossy in the oven, providing that rich and fruity flavor contrast to the buttery crust.
Add the crumble topping
Once your crust is ready and has cooled slightly, it’s time to add the filling. Pour the cherry mixture over the warm crust, spreading it evenly. Now, using the remaining crumb mixture from earlier, sprinkle it generously over the top. This crunchy layer adds the finishing touch to your Christmas Cherry Bars, giving them that irresistible crumble!
Bake until golden
Return your pan to the oven and bake for an additional 25-30 minutes or until the topping is golden and the filling is bubbly in places. Your kitchen will smell delightful, and the anticipation of diving into these Christmas Cherry Bars will be palpable. Allow them to cool completely for easy slicing, and then cut into squares. Serve these at your holiday gatherings! They’re perfect for sharing—but you may find it hard to resist keeping them all for yourself.
For some extra inspiration, check out baking tips at King Arthur Baking, and don’t forget to enjoy the sweet holiday moments with friends and family!
Variations on Christmas Cherry Bars
If you’re looking to spice up your Christmas Cherry Bars, there are plenty of delicious alternatives to explore! Here are three festive variations that are sure to delight your family and friends.
Festive Variation with Pistachios
Elevate the classic Christmas Cherry Bars by adding a sprinkle of toasted pistachios. Not only do they add a vibrant pop of color, but they also bring a delightful crunch. Simply chop the pistachios coarsely and mix them into the batter or sprinkle them on top before baking. Their unique flavor profile pairs beautifully with the sweetness of cherries. Plus, according to a study from the American Journal of Clinical Nutrition, pistachios are packed with healthy fats and protein, making your dessert a bit more worthwhile!
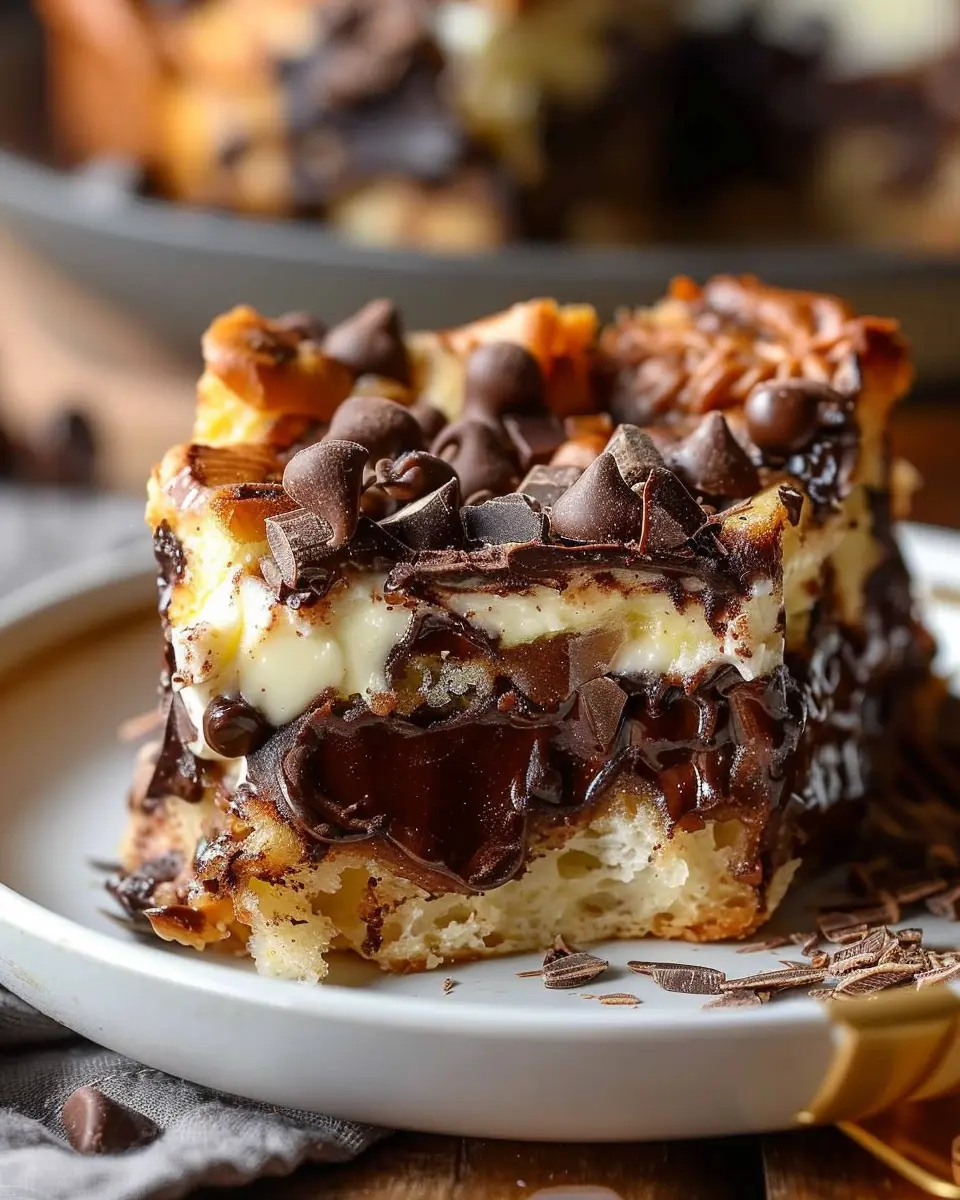
Dark Chocolate Alternative
For those chocolate lovers out there, why not swap out some of the cherry pie filling for rich dark chocolate ganache? This variation gives the Christmas Cherry Bars a decadent twist. You can create a simple ganache by heating equal parts of heavy cream and dark chocolate until smooth. Pour it over the cooled bars for a luxurious finish. Dark chocolate is known for its antioxidant properties, making this a slightly indulgent but guilt-free treat!
Cranberry Swap
Feeling adventurous? Try substituting the cherries with tart cranberries for a zesty twist on your Christmas Cherry Bars. The tartness of cranberries balances the sweetness perfectly. You can even toss in some orange zest to enhance the flavors. Fun fact: cranberries are high in vitamin C and fiber, making them a nutritious addition during the holiday season!
With these variations, you can make your Christmas Cherry Bars even more special, catering to different tastes and preferences at your holiday gatherings. What variation will you try first?
Baking notes for Christmas Cherry Bars
Importance of cold butter
When you’re whipping up your Christmas Cherry Bars, using cold butter is crucial to achieving that perfect crumbly texture. Cold butter creates distinct pockets of fat that firm up during baking, resulting in a delightful crispness. If your butter is too soft, you may end up with dense bars rather than the light, tender treats you desire. A quick tip? Cut your butter into small cubes and pop it in the freezer for about 15 minutes before mixing it into your dough.
Cooling tips for cutting
Once your bars are baked to golden perfection, let them cool in the pan before cutting. This step is essential because it allows the bars to set, helping to avoid a messy slice. For best results, consider transferring the pan to a wire rack, which promotes even cooling. You can also refrigerate the bars for about an hour. Not only does this make cutting easier, but it also enhances the flavors of your Christmas Cherry Bars. Trust me, the wait is worth it!
If you’re looking for more tips, check out this baking guide for expert insights.
Serving suggestions for Christmas Cherry Bars
Perfect pairings for holiday gatherings
When holiday gatherings roll around, Christmas Cherry Bars can shine as a delightful treat. Pair them with a warm cup of spiced apple cider or a refreshing cranberry juice spritzer for a festive flair. These cherry bars are particularly lovely alongside a cheese platter featuring creamy brie and tangy cheddar, adding a sweet and savory touch to your spread. Consider presenting them with some crunchy turkey bacon or sliced chicken ham for a delightful contrast of flavors.
It’s no secret that desserts like these cherry bars capture hearts, so don’t forget to share the joy!
Gift ideas using Christmas Cherry Bars
Looking for a unique gift? Wrap your Christmas Cherry Bars in festive cellophane, tied with a colorful ribbon, for a homemade touch that speaks volumes. You could even create a charming dessert basket filled with these bars, some turkey bacon treats, and hot cocoa mix. Not only are these ideas delicious, but they also carry the warmth of your creativity and thoughtfulness.
Whether you’re attending a party or surprising a friend, these suggestions will make your gift memorable! For more festive gift ideas, check out this guide on homemade holiday gifts.
Tips for making perfect Christmas Cherry Bars
When the holiday season rolls around, Christmas Cherry Bars can bring a sweet, festive touch to your gatherings. Here are some tips to help you achieve the perfect bars every time.
Key ingredients for success
First and foremost, choose the right cherries. Fresh, sweet, or tart cherries work wonders in this recipe, but you can also use high-quality canned cherries if that’s what you have on hand. Ensure you drain them well before mixing—they can add unwanted moisture.
Next, don’t skimp on the buttery goodness. Using real butter instead of margarine will yield a richer flavor and a flaky texture that everyone will love. Additionally, consider using a mix of brown and granulated sugar for a depth of flavor; brown sugar adds a hint of caramel that beautifully complements the cherries.
Finally, don’t forget a pinch of salt! It enhances the sweetness and balances the overall flavor of your Christmas Cherry Bars.
Storage tips for freshness
To keep your Christmas Cherry Bars fresh, store them in an airtight container at room temperature for up to three days. If you want to enjoy them longer, refrigerate them for up to a week. You can even freeze these bars—just wrap them individually in plastic wrap and store them in a freezer-safe bag. When you’re ready to indulge, simply let them thaw at room temperature.
By following these tips, you’ll have Christmas Cherry Bars that are not only delicious but also a delightful holiday treat! For more on ingredient selection and storage strategies, feel free to check out resources from the Food Network and America’s Test Kitchen.
Time details for Christmas Cherry Bars
When it comes to holiday baking, you’ll want to know how much time to set aside for your Christmas Cherry Bars. Here’s a breakdown of the timings to help you plan.
Preparation time
Getting your ingredients ready is key to a smooth baking experience. Expect to spend about 15 minutes prepping your cherry filling and mixing your sweet dough. It’s a great opportunity to enjoy some holiday music or chat with family while you work!
Baking time
The Christmas Cherry Bars need about 30 to 35 minutes in the oven. Keep an eye on them as they bake to prevent over-browning. The smell of cherries and almond extract will have everyone gathering around!
Total time
In total, you’re looking at approximately 50 to 60 minutes from start to finish, making these bars a perfect treat for any festive gathering. For more recipes and tips, you can check out The Food Network or AllRecipes for inspiration. Happy baking!
Nutritional information for Christmas Cherry Bars
When indulging in festive treats like Christmas Cherry Bars, it’s always nice to know what you’re savoring. Each bar brings a delightful combination of flavors while offering surprisingly reasonable nutrition.
Calories
Each serving of Christmas Cherry Bars contains approximately 180 calories. This makes them a relatively light option for holiday desserts, perfect for enjoying without the guilt.
Protein
These bars also pack in about 3 grams of protein per serving. While they aren’t a significant protein source, they’re a great way to add a bit of energy to your holiday celebrations.
Fiber
With around 2 grams of fiber per bar, Christmas Cherry Bars help keep your digestive health in check during the festivities. Pair them with a healthy meal or snack for a well-rounded nutrient profile.
For more detailed nutritional insights, consider checking out resources from the USDA or the American Heart Association. Knowing what goes into your beloved holiday recipes can help you enjoy them even more!
FAQs about Christmas Cherry Bars
Can I use fresh cherries instead of dried?
Absolutely! While the traditional Christmas Cherry Bars recipe typically calls for dried cherries due to their concentrated sweetness and chewier texture, fresh cherries can be a delightful twist. If you choose to go fresh, make sure to pit and chop them into small pieces. Keep in mind that the moisture content may alter the texture of your bars slightly. You might want to reduce other liquid ingredients to maintain the right consistency.
How long do Christmas Cherry Bars last?
When stored properly, your Christmas Cherry Bars can stay fresh for about a week. To maximize their shelf life, keep them in an airtight container at room temperature. If you’d like to extend their longevity, consider refrigerating them, where they can last for up to two weeks. For longer storage, you can freeze them! Just ensure they are well-wrapped in plastic wrap or foil, and they’ll be good for up to three months.
Are there gluten-free substitutes for Christmas Cherry Bars?
Definitely! If you’re keen on making gluten-free Christmas Cherry Bars, simply replace regular flour with a gluten-free all-purpose flour blend. Many blends on the market also include xanthan gum, which helps mimic the texture of traditional flour. Additionally, almond flour or coconut flour can provide unique flavors and textures, but be mindful of adjusting the liquid ratios in your recipe. For more tips on gluten-free baking, check out resources like King Arthur Baking for expert guidance.
If you have more questions or want to share your baking experiences, feel free to leave a comment below; I love hearing from fellow bakers!
Conclusion on Christmas Cherry Bars
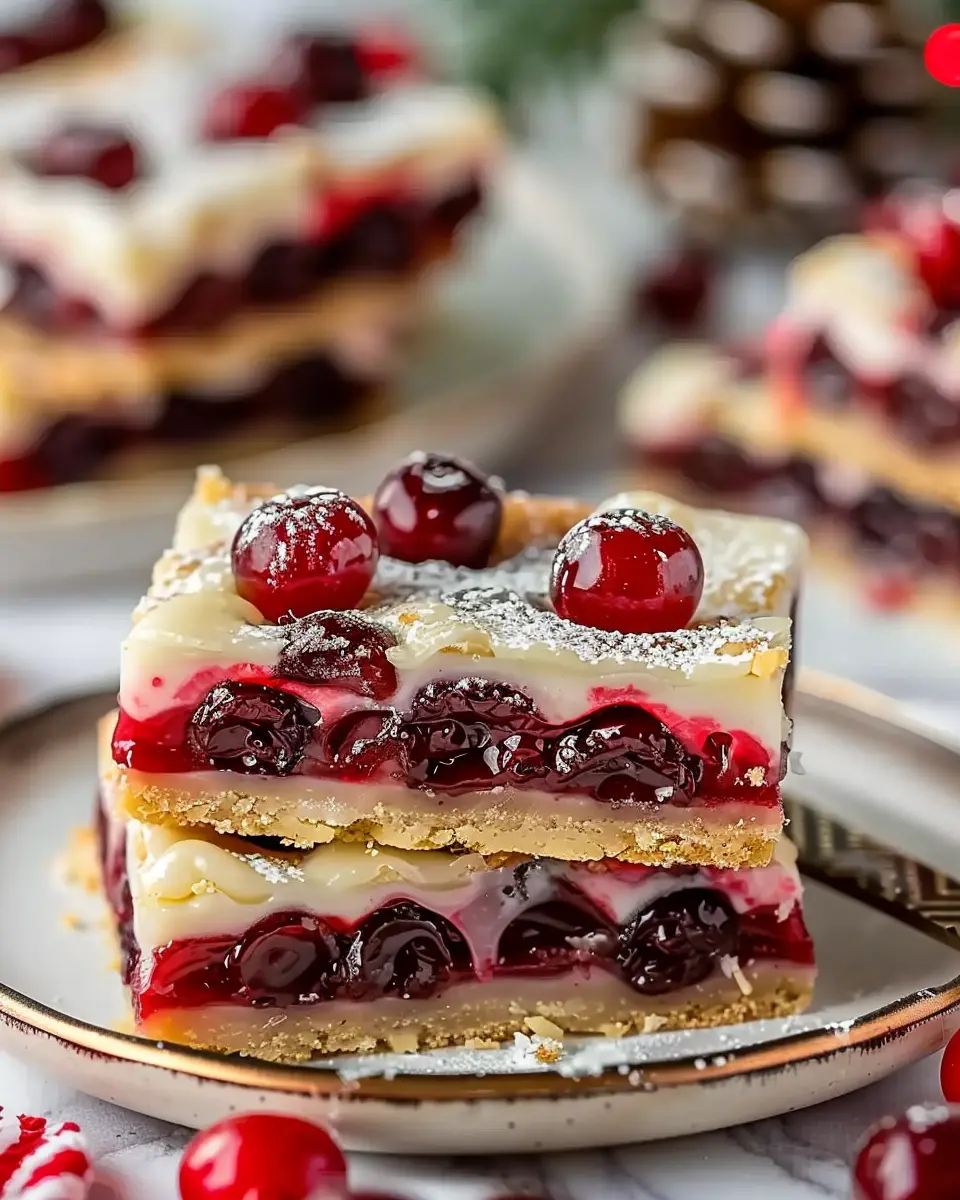
In summary, Christmas Cherry Bars are the perfect festive treat that combines a delightful crunch with a burst of tart cherry flavor. They are easy to make and can be whipped up in no time, making them an excellent addition to your holiday baking list.
Consider sharing them with friends and family or serving them as a festive dessert for your holiday gatherings. You can even package them as sweet gifts! If you’re seeking inspiration for other holiday recipes, explore Holiday Baking Ideas or check out tips on making Turkey Bacon savory snacks at Savory Snack Recipes.
Enjoy the joy these bars bring to your holiday celebrations!
PrintChristmas Cherry Bars: Easy Indulgent Treats for Festive Joy
Indulge in the festive spirit with these easy Christmas Cherry Bars that combine sweet cherries with a buttery crust.
- Prep Time: 15 minutes
- Cook Time: 30 minutes
- Total Time: 45 minutes
- Yield: 16 bars
- Category: Desserts
- Method: Baking
- Cuisine: American
Ingredients
- 1 cup all-purpose flour
- 1/2 cup unsalted butter, softened
- 1 cup granulated sugar
- 2 large eggs
- 1 teaspoon vanilla extract
- 1/4 teaspoon salt
- 1 can cherry pie filling
Instructions
- Preheat the oven to 350°F (175°C).
- In a mixing bowl, cream together the butter and sugar until light and fluffy.
- Add the eggs one at a time, mixing well after each addition.
- Stir in the vanilla extract and salt.
- Gradually add in the flour until just combined.
- Spread half the batter into a greased baking dish.
- Add the cherry pie filling over the batter.
- Drop the remaining batter by spoonfuls over the cherries.
- Bake for 25-30 minutes or until golden brown.
- Allow to cool before cutting into bars.
Notes
- For a festive touch, sprinkle powdered sugar on top before serving.
- These bars can be made ahead of time and stored for several days.
Nutrition
- Serving Size: 1 bar
- Calories: 180
- Sugar: 15g
- Sodium: 150mg
- Fat: 8g
- Saturated Fat: 5g
- Unsaturated Fat: 3g
- Carbohydrates: 24g
- Fiber: 1g
- Protein: 2g
- Cholesterol: 30mg
")